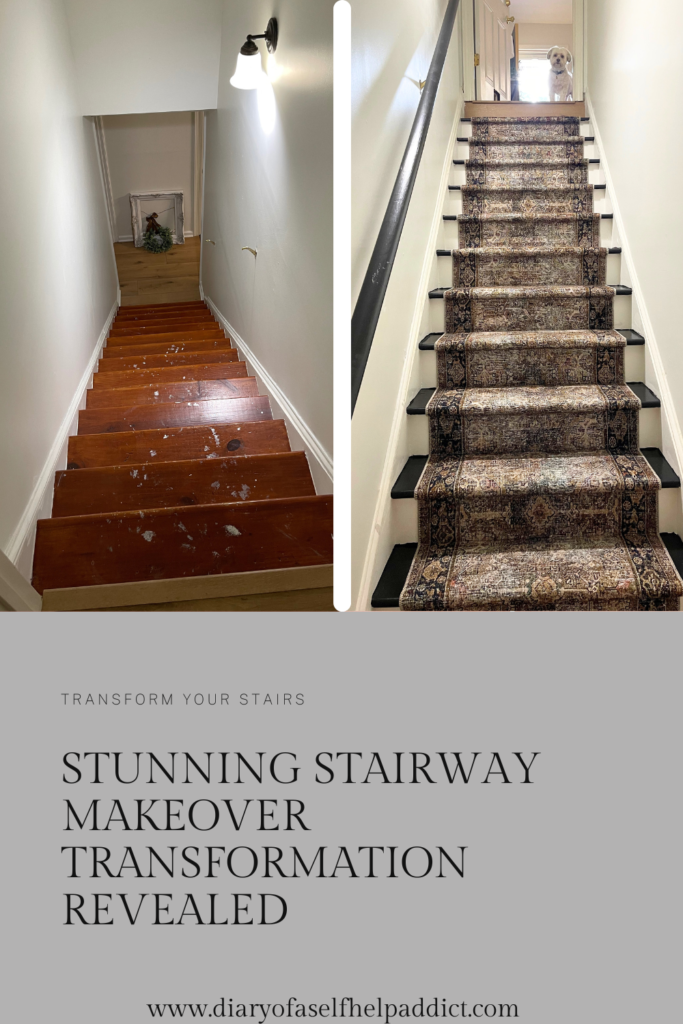
Renovating your home doesn’t always have to break the bank. Sometimes, it takes a little creativity, a weekend of work, and a commitment to transforming your space. That’s precisely what I did with my stairwell, turning a worn and tired area into a stylish and cozy part of my home—all on a budget.
In this post, I’ll walk you through my DIY stairwell remodel, where I primed and painted the walls, railing, and outer third of the stair treads. I also installed a carpet runner that covered up years of wear and tear and added a touch of warmth and quiet to the space. Whether you’re looking to spruce up your stairwell or want inspiration for your next home project, this guide is for you.
The Before: Why I Needed a Stairwell Remodel

Stairwells often bear the brunt of daily wear and tear, and mine was no exception. Over the years, my hardwood stairs had accumulated scratches, scuff marks, and dents. The once beautiful finish had dulled, and the overall appearance of the stairwell had become just plain ugly. The constant clatter of footsteps didn’t help either; the noise echoed throughout the house, adding to the discomfort.
I wanted to restore the space’s charm without spending a fortune. Due to the cost, a complete replacement of the stairs or refinishing the hardwood was out of the question. Instead, I embarked on a DIY project to give my stairwell a fresh, updated look while staying within a budget.
Step 1: Preparing the Stairwell for Painting
The first step in any DIY project is preparation; my stairwell remodel was no different. I knew I needed to start with a clean slate to achieve a professional-looking finish.
- Cleaning: I cleaned the walls, railing, and stair treads. Removing dust, dirt, and grease ensures the primer and paint adhere properly.
- Prepping: I removed the railing, light switch, and fixtures and patched any holes, dents, or marks that needed it.
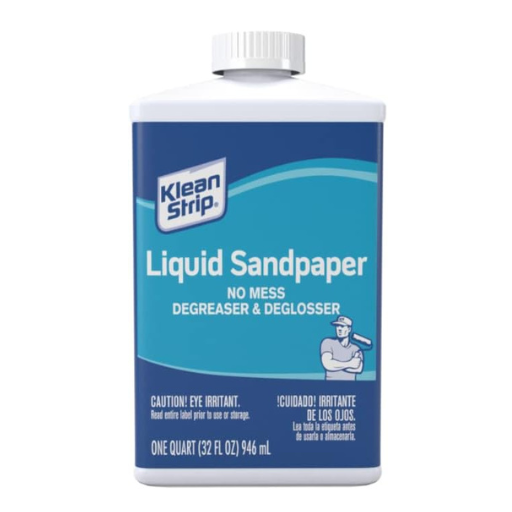
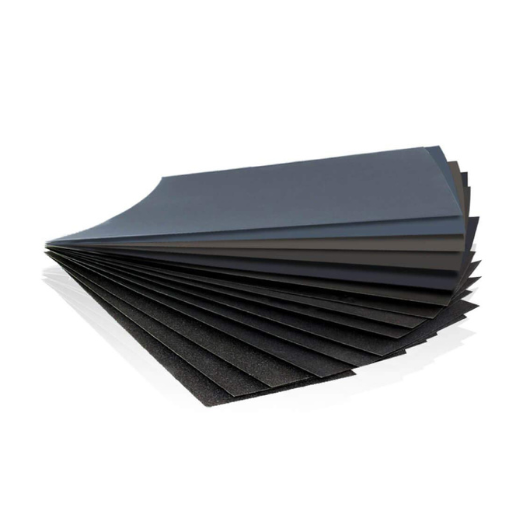
- Sanding: Since I didn’t want to do a lot of sanding, I applied liquid sandpaper to the stair treads. This stuff worked great to create a slightly rough surface to which the primer and paint adhere. Once dry, I lightly sanded them with 120-grit sandpaper to smooth out rough spots and help the paint stick better.

Step 2: Priming and Painting
With the prep work done, it was time to get to the fun part—painting! I primed and painted the walls, railing, and outer third of the stair treads to create a cohesive and updated look.
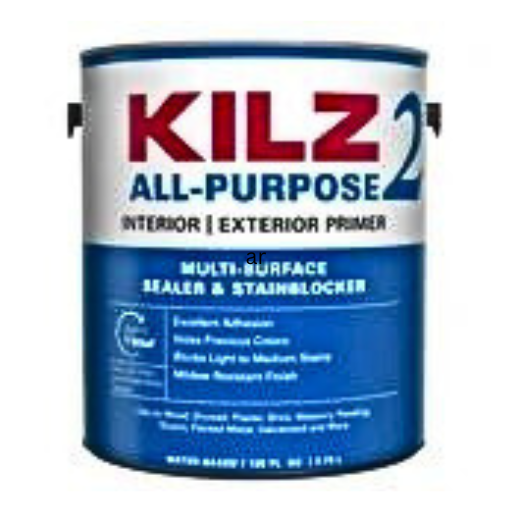
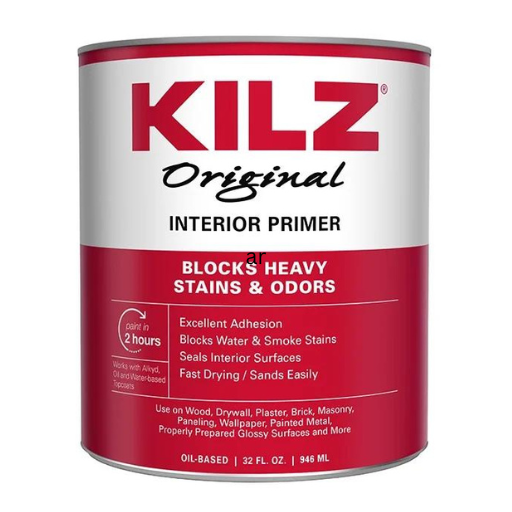
- Priming: Priming is essential, especially when covering up old stains or darker colors. I applied a coat of latex primer to the walls and an oil-based primer to the banister and stair treads. Priming created a smooth base for the paint, making the final color appear even and vibrant.
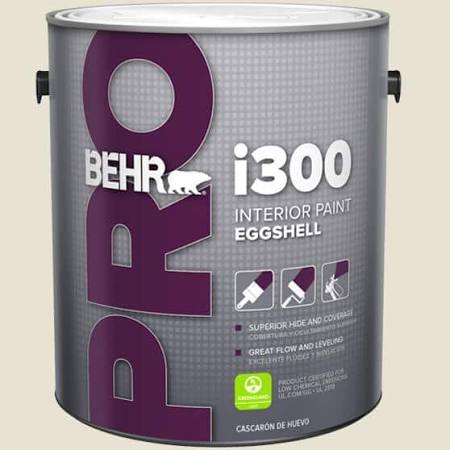
- Painting: After the primer dried, I applied two coats of paint. I chose Alabaster White paint in a satin finish by Sherwin Williams for the walls. This is one of my favorite paint colors that I’ve used throughout my house, and it is light and neutral, which brightens the space. The railing was painted in Tricorn Black by Sherwin Williams in a high gloss sheen to add a sleek, contrasting shade, giving it a modern feel. I used the leftover paint from two years ago when the house’s exterior was painted. Finally, I painted the outer third of the stair treads in Tricorn Black, complementing the carpet runner I had selected. This added a stylish border and tied the whole look together.
Step 3: Adding Carpet Padding

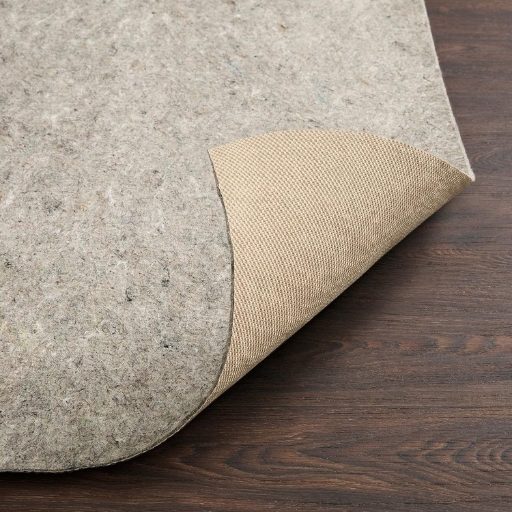
To enhance comfort and reduce noise, I added a carpet pad to each stair tread before installing the carpet runner.
- Choosing the Carpet Pad: I opted for a thin but durable carpet pad that would add cushioning without making the stairs feel bulky.
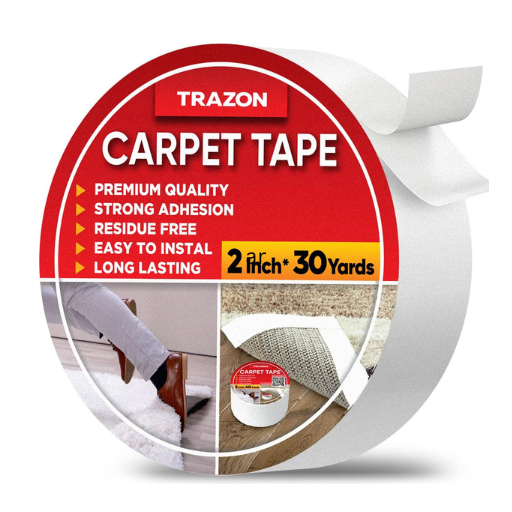
- Installing the Pads: I securely attached the pads to each tread using double-sided carpet tape. I cut the pads slightly smaller than the width of the carpet runner to prevent them from peeking out from underneath.
Step 4: Installing Carpet Runner

The highlight of my stairwell remodel was installing a beautiful carpet runner. The runner covered up the damaged hardwood and added a touch of elegance and quiet to the space.
Choosing the Carpet Runner: After browsing several options, I found the perfect carpet runner on Amazon. I’ve used this same-style rug throughout my house. It had the right combination of durability, softness, and style without being too thick. The pattern was subtle yet sophisticated, making it a perfect match for my newly painted stairwell.
Renting the Staple Gun: I rented a staple gun from Home Depot to install the carpet runner. Renting was cost-effective since buying a staple gun for a one-time project didn’t make sense.

The After: A Transformed Stairwell
The transformation of my stairwell exceeded my expectations. The once worn-out and noisy stairs were now covered with a plush carpet runner that looked beautiful and felt comfortable underfoot. The paint job added a fresh and modern touch, making the entire space feel brighter and more inviting.
- Aesthetic Improvement: The new paint colors and the stylish carpet runner brought the stairwell to life. The runner’s pattern added visual interest without overwhelming the space.
- Noise Reduction: One of the carpet runner’s biggest benefits was the significant noise reduction. The once echoey stairwell was now much quieter, making the entire home feel more peaceful.
- Durability: The carpet runner also provided much-needed protection for the stairs. The years of wear and tear are now hidden beneath a durable and easy-to-clean surface.

Budget Breakdown
One of this project’s most satisfying aspects was its budget-friendly nature. Many of the items I already had at home from other home improvement projects. Here’s a breakdown of the costs:
- Primer and Paint: Approximately $72
- Carpet Pad: $23
- Carpet Runner: $120 (purchased on Amazon)
- Staple Gun Rental: $15 for 4 hours (from Home Depot)
- Miscellaneous Supplies: $15 (carpet tape, sandpaper, etc.)
Total Cost: Just under $245
This DIY stairwell remodel proves that you can save money and still achieve a big impact. With a bit of effort and creativity, you can completely transform a space without breaking the bank.
Final Thoughts: Why I Love My DIY Stairwell Remodel

Looking back on the project, I couldn’t be happier with the results. Once a neglected area of the house, the stairwell is now a focal point that adds character and comfort to my home. The project was not only budget-friendly but also incredibly satisfying. There’s something special about knowing you’ve done the work yourself, and every time I walk up and down the stairs, I’m reminded of that accomplishment.
If you’re considering a similar project, I hope this post inspires you to give it a try. With the right materials, tools, and patience, you can achieve a beautiful and functional space that reflects your personal style. Plus, the sense of pride you’ll feel when it’s all done is truly priceless.
Shop This Post
AS AN AMAZON ASSOCIATE, I EARN FROM QUALIFYING PURCHASES. READ MY DISCLOSER HERE. THANK YOU FOR SUPPORTING MY SMALL BUSINESS!

Pin It For Later


Leave a Reply