
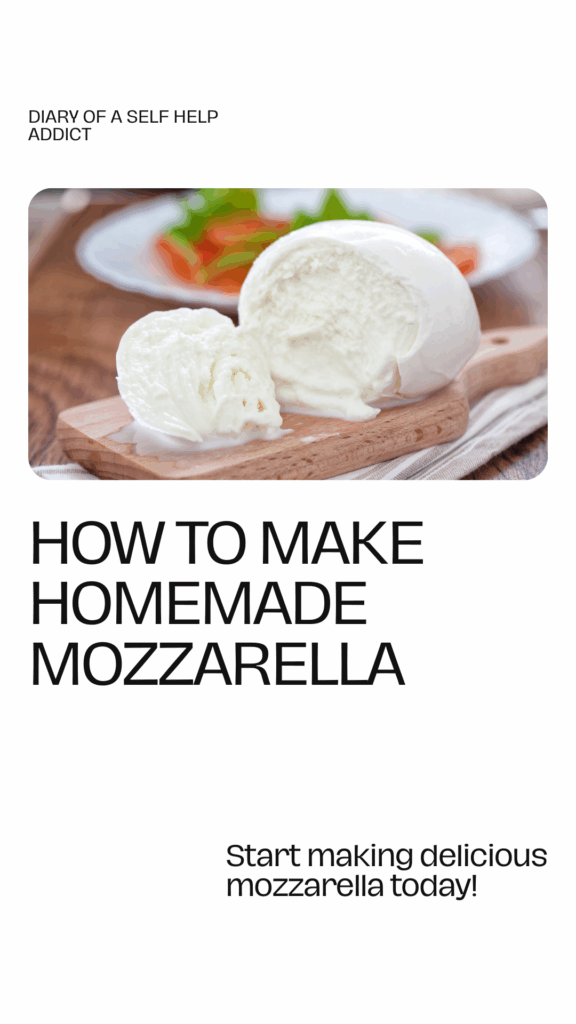
If you’ve ever wanted to pull a ball of soft, warm mozzarella straight out of your own kitchen, I have good news: it’s not only possible, it’s easy, and honestly, one of the most fun food projects you’ll ever try.
I use the New England Cheesemaking Kit and follow their 30-Minute Mozzarella Recipe (without a microwave version), and it has become one of my favorite kitchen adventures. Their kits are affordable, the instructions are super clear, and they have tons of recipes on their site if you get hooked (and trust me, you probably will).
Today, I’d like to walk you through why making mozzarella at home is so rewarding, provide the basics of how it works, and share some of my favorite tips for success.
Why Make Your Own Mozzarella?
When I first started researching cheesemaking, I thought it would be complicated, messy, and require specialized equipment. But mozzarella changed that for me. Here’s why I think it’s worth giving a try:
1. It’s Simple and Quick
The name says it all: “30-Minute Mozzarella.” With just a gallon of milk, a little citric acid, rennet, and salt, you can go from liquid milk to stretchy cheese in less time than it takes to watch your favorite sitcom. You don’t need fancy gadgets either, just a pot, a thermometer, a colander, and a ladle.
2. It Feels Like Magic
The first time you watch milk separate into curds and whey, you’ll feel like a food scientist. And when you start kneading and stretching those curds until they turn smooth and shiny? Pure joy. There’s something incredibly satisfying about making cheese with your own two hands.
3. It Saves Money (and Tastes Better)
High-quality fresh mozzarella can be pricey at the store, especially if you love it as much as I do. Making it at home with the kit works out much cheaper per batch, and it tastes fresher, like something you’d eat in Italy, straight from the source.
4. You Control the Ingredients
No preservatives, no weird additives, just fresh milk, rennet, citric acid, and salt. You get to decide how salty you want it, how soft you want the texture, and even experiment by adding herbs or spices.
5. It’s a Fun Skill to Have
Once you’ve done it once or twice, it becomes second nature. And it’s the kind of thing that impresses friends and family when you say, “Oh, this mozzarella? I made it myself.”
Step-by-Step: Making Mozzarella at Home
Here’s a simple breakdown of how the New England Cheesemaking “no microwave” method works (I definitely recommend grabbing their full kit; it comes with everything you need except milk).
What You’ll Need
- 1 gallon of milk (not ultra-pasteurized)
- 1½ tsp citric acid
- ¼ rennet tablet (or ¼ tsp liquid rennet)
- 1 tsp cheese salt
- Thermometer, ladle, large pot, colander, bowl, and gloves for stretching
The Process
1. Prep & Clean
Clean everything really well before you start. Cheesemaking is simple, but a clean workspace is crucial to achieving a high-quality final product.
2. Dissolve the Rennet
Crush up the rennet tablet (or measure liquid rennet) and stir it into a small amount of cool water. Set it aside.
3. Acidify the Milk
Dissolve the citric acid in about a cup of cool water and pour it into your pot. Add the milk immediately, as this helps set the stage for the curds to form.
4. Warm the Milk
Heat the milk slowly to about 90–95°F. While that’s warming, heat a separate bowl of water to about 175°F You’ll need this later for stretching the cheese.
5. Add the Rennet
Take the pot off the heat and stir in the rennet mixture for 30 seconds. Cover it and let it sit undisturbed for 5 minutes. You should see a custard-like texture with clear liquid (whey) separating around the edges.
6. Cut and Heat the Curds
Slice the curds into 1-inch squares with a long knife. Put the pot back on low heat and gently warm the curds to about 105–110°F, stirring softly as they firm up.
7. Drain
Scoop the curds into a colander, allowing the whey to drain off into a bowl (Don’t discard it! You can use the whey in soups, bread, or my sister’s famous chocolate cake recipe). Sprinkle in some salt and gently fold the curds to help them firm up.
Related Read: THE BEST CHOCOLATE CAKE: A SWEET WELCOME HOME
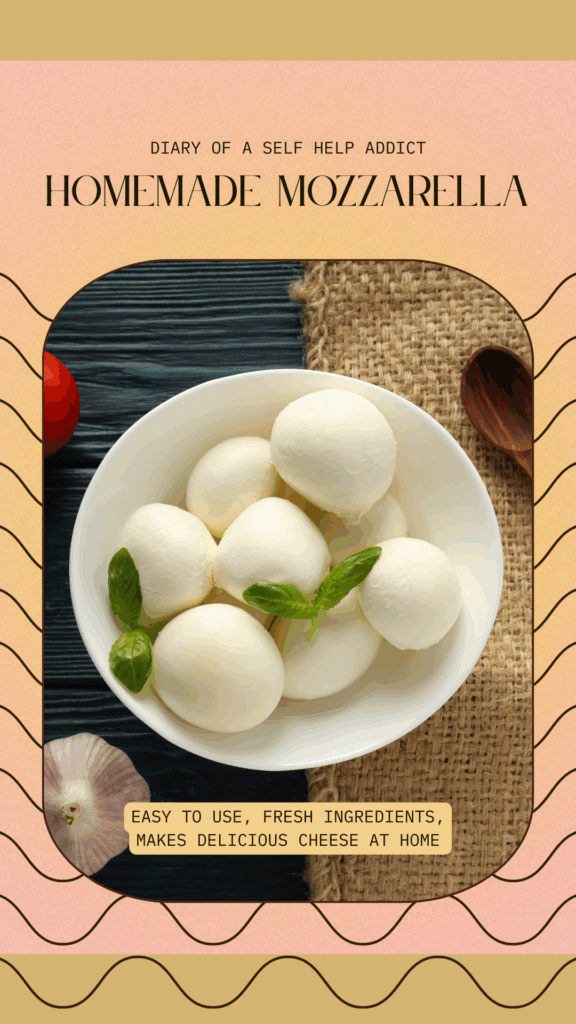
8. Stretch and Shape
Now for the fun part: put on gloves and dip chunks of curd into the hot 175°F water. Start kneading and stretching the cheese like taffy until it becomes smooth and glossy. Form it into a ball or braids, and you’re done!
👉 Here’s the exact kit I use from New England Cheesemaking Supply on Amazon
Why This Process is So Much Fun
Honestly, the step where you stretch the curds might be the most satisfying cooking experience you’ll ever have. The cheese resists at first, then suddenly melts into this silky, shiny ribbon that you can fold and stretch over and over.
It’s one of those things that brings out your inner child; you can’t help but grin while you’re doing it. I’ve made mozzarella with friends and family, and we all ended up laughing and cheering each other on as the cheese stretched further and further. It’s a great group activity, especially if you’re looking for something different to do at home.
The Benefits Go Beyond the Cheese
Making mozzarella is about more than just eating delicious cheese (though that’s obviously a huge perk). Here are some extra benefits I’ve noticed:
- Budget-Friendly: After the initial kit purchase, each batch costs only the price of milk and a small amount of rennet/citric acid.
- Less Waste: No plastic packaging or extra containers, plus, you can use the leftover whey instead of throwing it away.
- Healthier: You know exactly what’s in your cheese. No preservatives, fillers, or mystery ingredients.
- Educational: It’s food science in action. Kids love watching milk transform into curds and whey. It’s like a science experiment you can eat.
- Gateway Hobby: Mozzarella is just the start. Once you master it, you’ll be tempted to try ricotta, feta, or even aged cheeses. New England Cheesemaking has recipes for all of them.
Tips for Success
If this is your first batch, here are a few things I wish I knew before I started:
- Use good milk. Avoid ultra-pasteurized milk as it won’t form proper curds. Local or organic milk works best.
- Get a decent thermometer. Temperature makes all the difference in cheesemaking.
- Work clean. Wash your tools and keep the area clean and tidy for optimal results.
- Don’t panic if it looks weird. My first batch wasn’t picture-perfect, but it still tasted amazing. Each try gets easier.
- Stretch while it’s hot. The curds stretch best at 175°F—if they cool too much, simply dip them back in the hot water.
👉 Here’s the exact kit I use from New England Cheesemaking Supply on Amazon
As an Amazon Affiliate, I earn a small comission on some purchases at no extra cost to you. Thank you for supporting my small business! As always, I only share products I use personally or recommend to clients and family. Read my disclosure and privacy policy here.
The Joy of Sharing Homemade Mozzarella
There’s nothing like pulling out a fresh ball of mozzarella you made yourself and serving it with sliced tomatoes, basil, and olive oil. Or tucking it onto a homemade pizza and watching it melt into gooey perfection.
The best part? When you tell people you made the cheese from scratch, their eyes widen in disbelief. It’s the ultimate “wow factor” for dinner parties or family gatherings.
👉 Here’s the recipe I use from New England Cheesemaking Supply
Kelly’s Thoughts
Making mozzarella at home has become one of my favorite kitchen hobbies. It’s fast, fun, affordable, and the results are absolutely delicious. The New England Cheesemaking Kit takes away all the guesswork and gives you everything you need to be successful on your very first try.
If you’re looking for a new skill to learn, a fun project to do with family, or just the satisfaction of creating real cheese in your own kitchen, I can’t recommend this enough.
So grab some milk, roll up your sleeves, and get ready to stretch some mozzarella. You’ll be hooked after your first batch.
Pin it for later
Ohh very interesting article!!
Thank you so much!