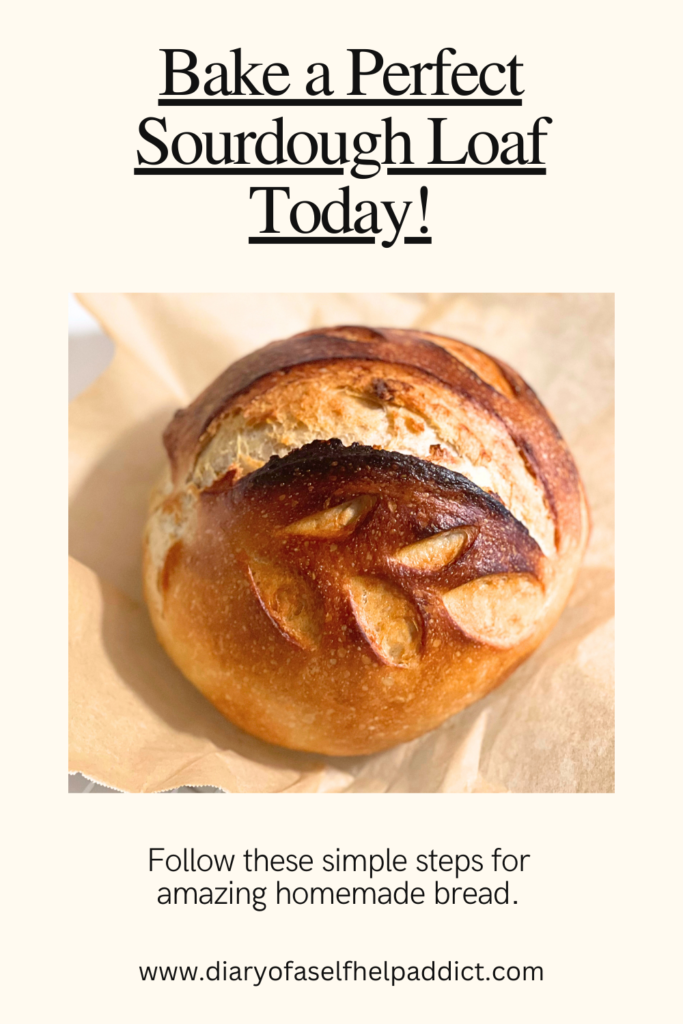
With its tangy flavor and chewy texture, sourdough bread has become a favorite among many home bakers. If you’re new to sourdough baking or looking for a more straightforward method, this recipe will quickly guide you. Shortening the steps allows you to enjoy homemade sourdough bread without feeling overwhelmed. Let’s dive into the easiest sourdough bread recipe!
As an Amazon Associate, I earn a small commission on qualifying purchases at no extra cost to you. Please read my disclosure here.
Ingredients:
- 100g active sourdough starter
- 300g filtered water
- 450-500g organic bread flour
- 10g Redmond’s Real Salt
Looking for organic bread flour and Redmond’s Real Salt at a discount? Check out Thrive Market’s online grocery store, and you’ll receive amazing products delivered to your doorstep. When you join Thrive Market, you’ll receive 30% off your purchase and a $60 FREE gift!
The Evening of Day 1: Preparing Your Sourdough Starter
The key to great sourdough bread is a bubbly and active starter. Here’s how to get your starter ready:
- Evening: Remove your sourdough starter from the refrigerator and feed it. This means discarding and replenishing a portion with equal parts flour and water.
- Wait Time: The starter should become bubbly and active in about 4-5 hours if your home is warm. If it’s cooler, let it sit overnight to reach peak activity.
The Morning of Day 2: Mixing and Developing the Dough
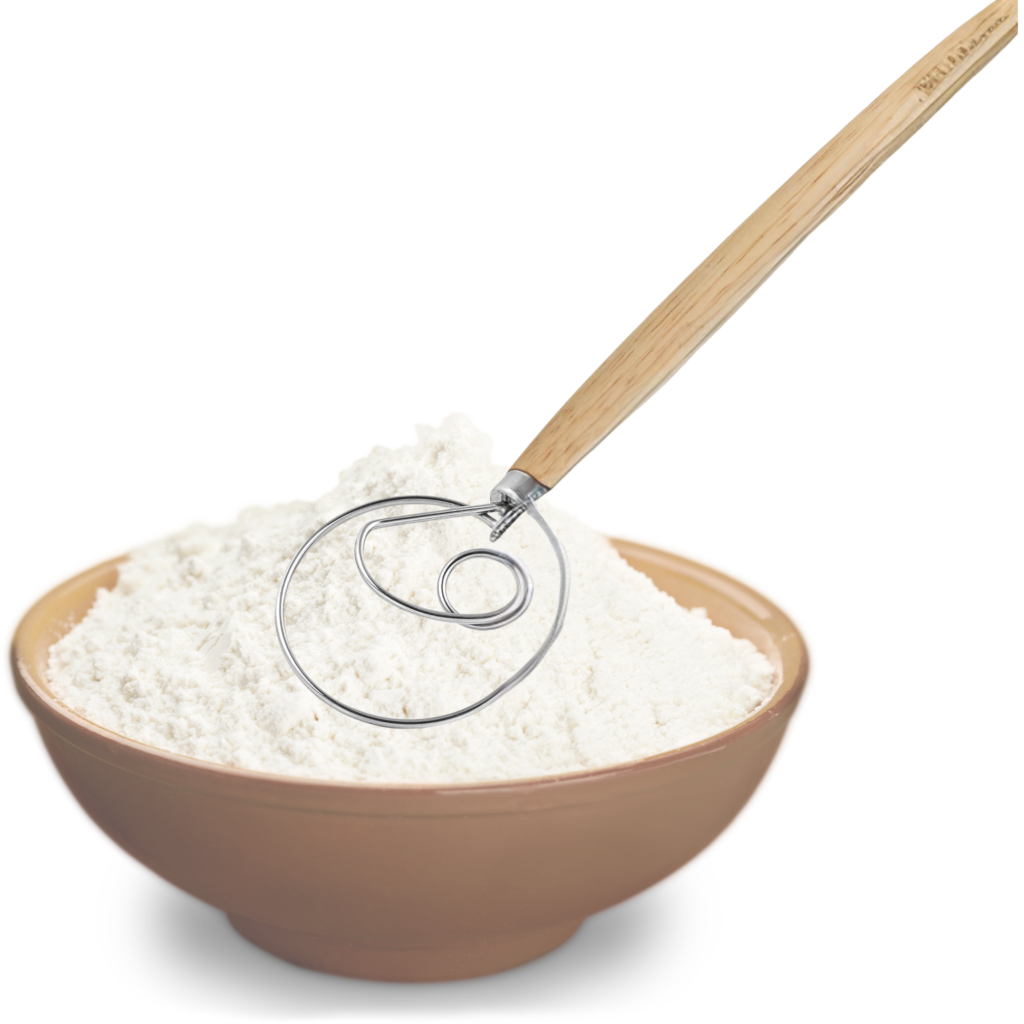
- Mix the Starter and Water: Once your starter is active, measure 100g using a kitchen scale. Add this to a bowl along with 300g of filtered water. Mix thoroughly with a dough whisk to combine.
- Add Flour: Add 450-500g of organic bread flour to the bowl. Mix with a dough whisk, ensuring you scrape the sides to incorporate all the flour.
- Add Salt: Sprinkle 10g of Redmond’s Real Salt over the dough. Mix with your hands to create a sticky ball of dough.
- Autolyse: Cover the bowl with a damp kitchen towel and let the dough rest for 30 minutes. This process, known as autolysis, helps the flour absorb the water, making the dough easier to handle.
Related Read: My TOP 10 Sourdough Recipes For Beginners. Check it out!
Stretch and Fold Technique
- First Stretch and Fold: After the 30-minute rest, perform the first stretch and fold. Grab one edge of the dough, stretch it up, and fold it over itself. Rotate the bowl a quarter turn and repeat. Do this 3-4 times around the bowl.
- Repeat: Cover the dough with the damp towel and rest for another 30 minutes. Repeat the stretch and fold process 3-4 times, allowing the dough to rest for 30 minutes between sets.
Bulk Fermentation
- First and ONLY Rise: After the series of stretch-and-folds, let the dough sit in the bowl on your counter. Cover it with a damp towel and allow it to ferment for 4-5 hours, depending on your home’s temperature. The dough should approximately double in size.
Shaping and Proofing
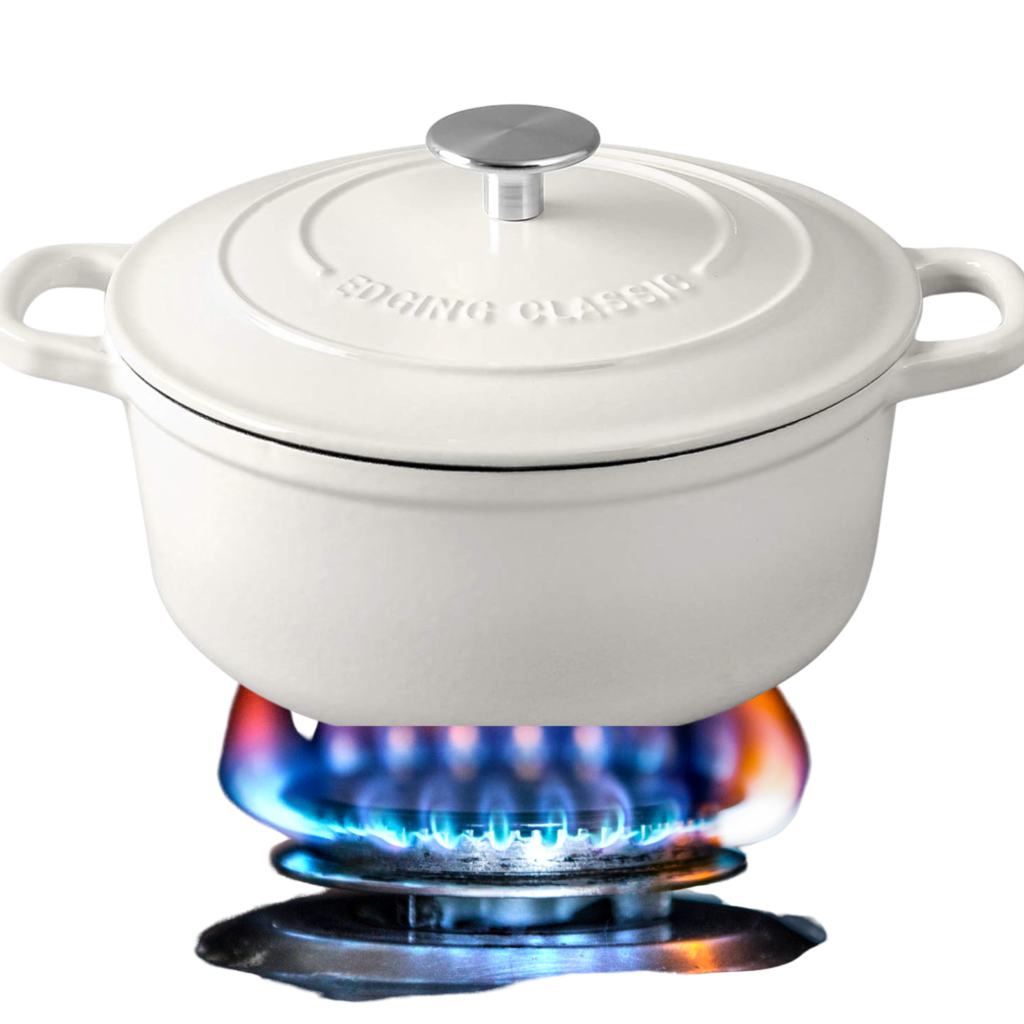
- Preheat the Oven: Once the dough has doubled, preheat your oven to 450°F (230°C) with a covered Dutch oven inside.
- Shape the Dough: Lay the dough on a clean countertop and spread it gently with your hands. Fold the dough into thirds to form a rectangle. Then, roll one end of the rectangle over itself to form a ball shape. Finally, create a tighter ball by pushing, spinning, and pulling the dough against the counter.
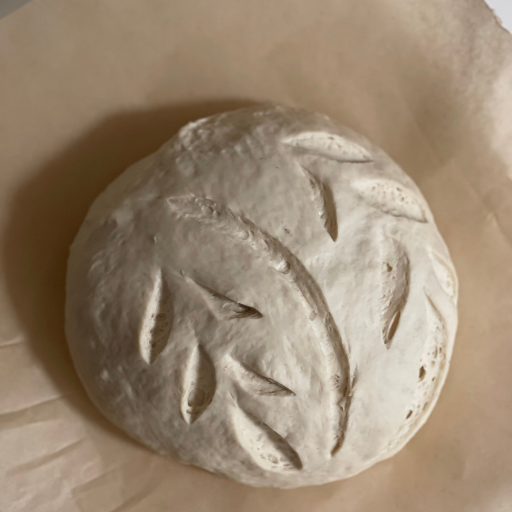
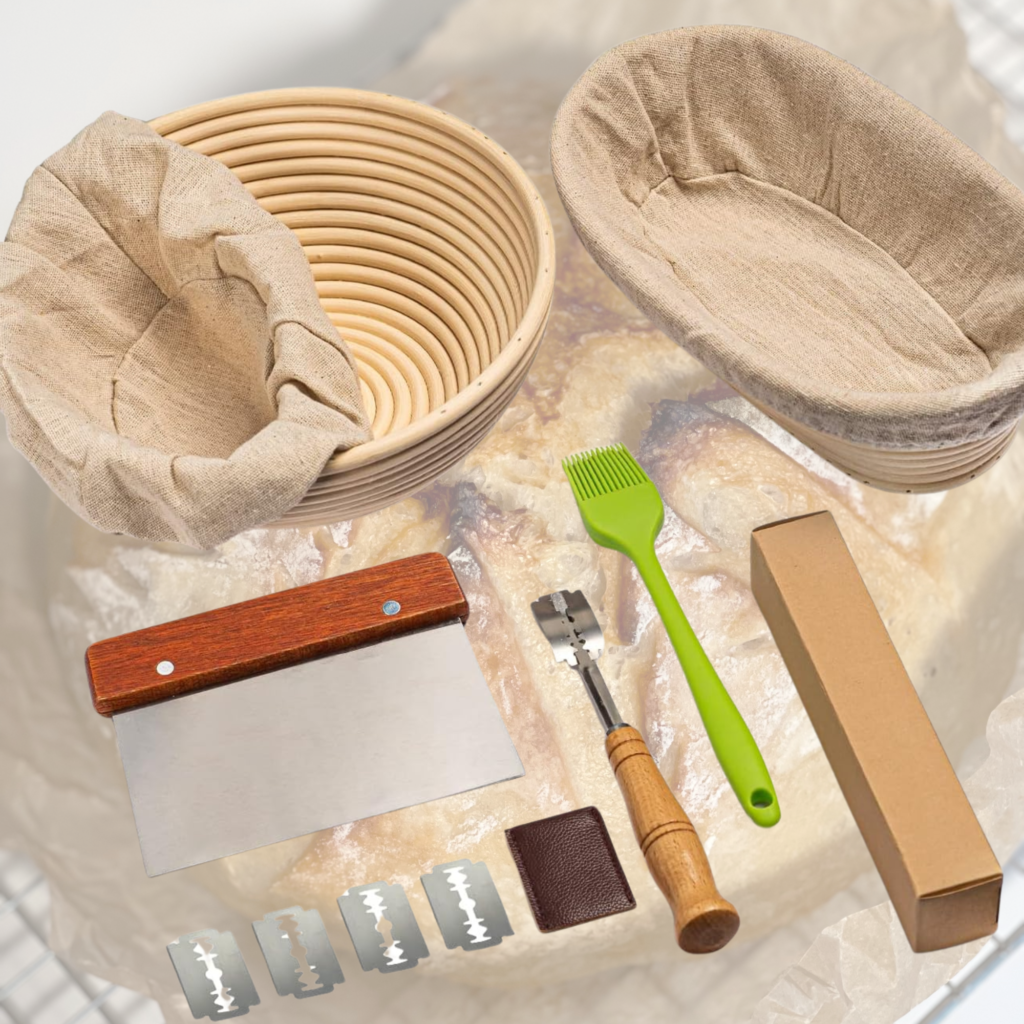
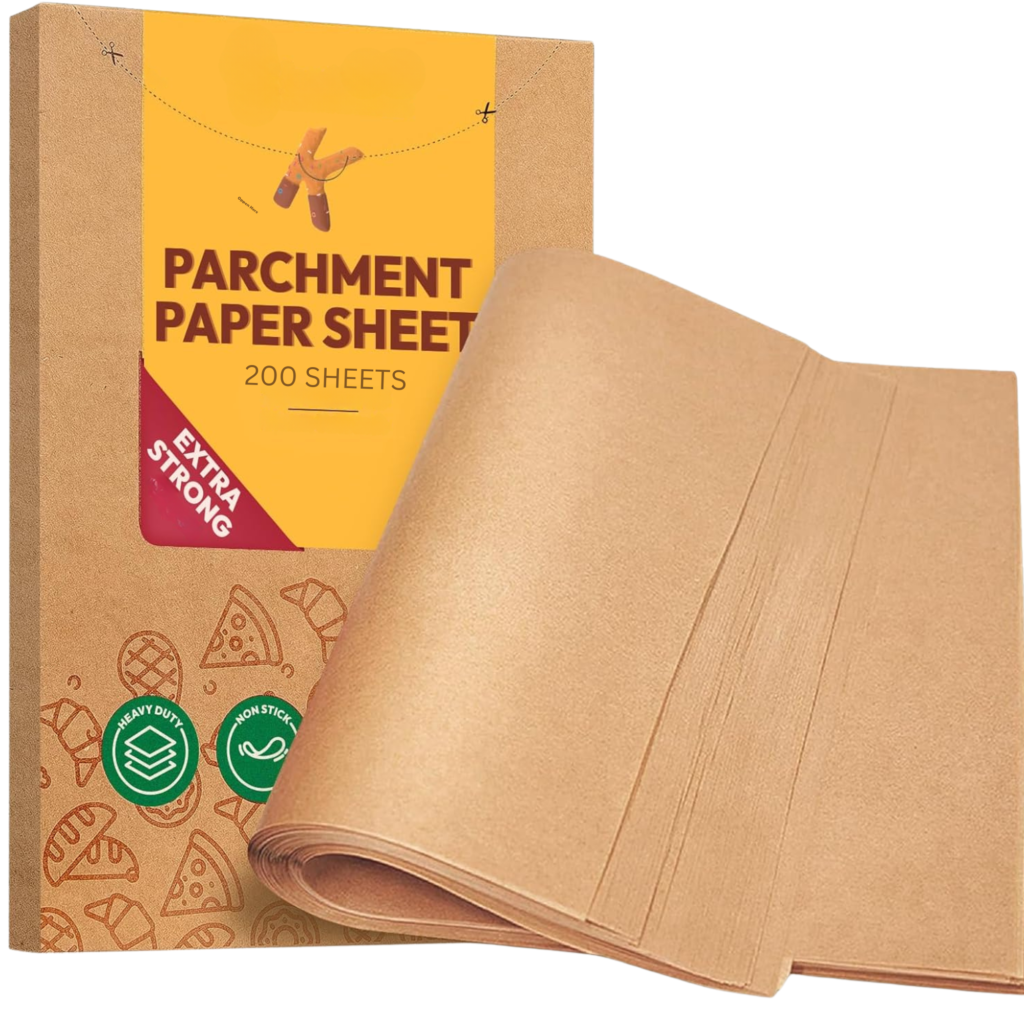
- Score the Dough: Place the dough seam-side down on a piece of parchment paper. Using a sharp knife or a bread lame, score a design into the top of the dough. This allows the bread to expand properly during baking.
Baking
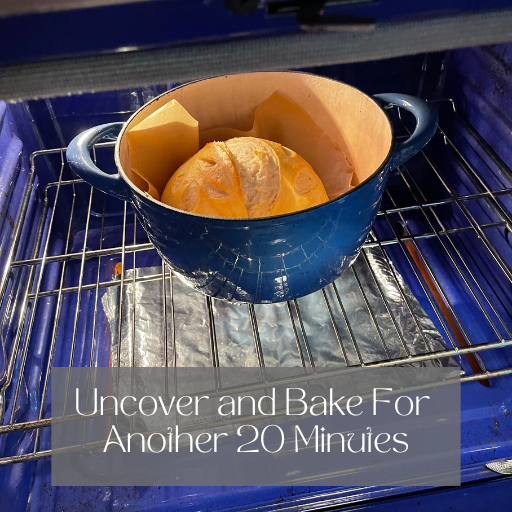
- Bake in the Dutch Oven: Carefully transfer the dough and parchment paper into the preheated Dutch oven. Add 3-4 ice cubes under the parchment paper to create steam, then cover with the lid.
- First Bake: Bake the bread covered for 25 minutes.
- Second Bake: Remove the lid and bake for 20 minutes, making the crust golden brown and crispy.
Cooling and Enjoying
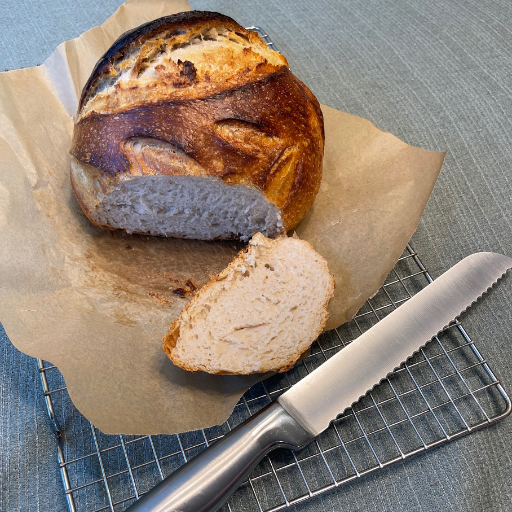
- Cool the Bread: Remove the bread from the oven and place it on a cooling rack. Let it cool for at least 1 hour before slicing. This helps set the crumb and makes slicing easier.
- Enjoy: Once cooled, slice your sourdough bread and enjoy it with your favorite spreads, soups, or simply on its own.
Tips for Success
- Temperature Control: The ambient temperature in your home can significantly impact the fermentation process. Fermentation will take longer in cooler environments, while warmer conditions will speed it up.
- Hydration Levels: The amount of water in your dough can affect its texture. Start with 450g of flour and add more if the dough is too sticky.
- Practice Patience: Sourdough baking is an art that requires patience. Don’t rush the fermentation process; it develops the bread’s flavor and texture.
Troubleshooting Common Issues
- Dense Bread: If your bread turns out thick, it might be due to under-fermentation. Ensure your starter is fully active and allow sufficient time for bulk fermentation.
- Flat Loaf: Overproofing can result in a flat loaf. To prevent this issue, oversee your dough during the final rise.
- Gummy Crumb: If the crumb is gummy, it could be due to insufficient baking time. Ensure you bake the bread fully, allowing the internal temperature to reach at least 205°F (96°C).
Pro Tips For Start-to-Finish Bread Making in ONE Day
During the hot summer, I’ve made easy and delicious sourdough bread in only ONE day! Wondering how that’s possible? Here’s how I do it.
- 5 AM: Feed sourdough starter
- 10 AM: Make the dough
- 4 PM: Bake the bread
- 6 PM: Enjoy delicious sourdough bread with dinner.
The process removes the overnight refrigerated bulk fermentation that I’ve found unnecessary.
Final Thoughts
Sourdough bread baking can seem intimidating, but this simplified recipe makes it much more approachable. The key is to use an active, bubbly sourdough starter, practice patience, and enjoy the process.
Following these steps will create delicious, homemade sourdough bread you’ll be proud of, and your family will enjoy. Whether you’re new to sourdough or looking for an easier method, this recipe provides a straightforward approach to achieving fantastic results. Happy baking!
LINKS TO MY FAVORITE SOURDOUGH KITCHEN TOOLS.
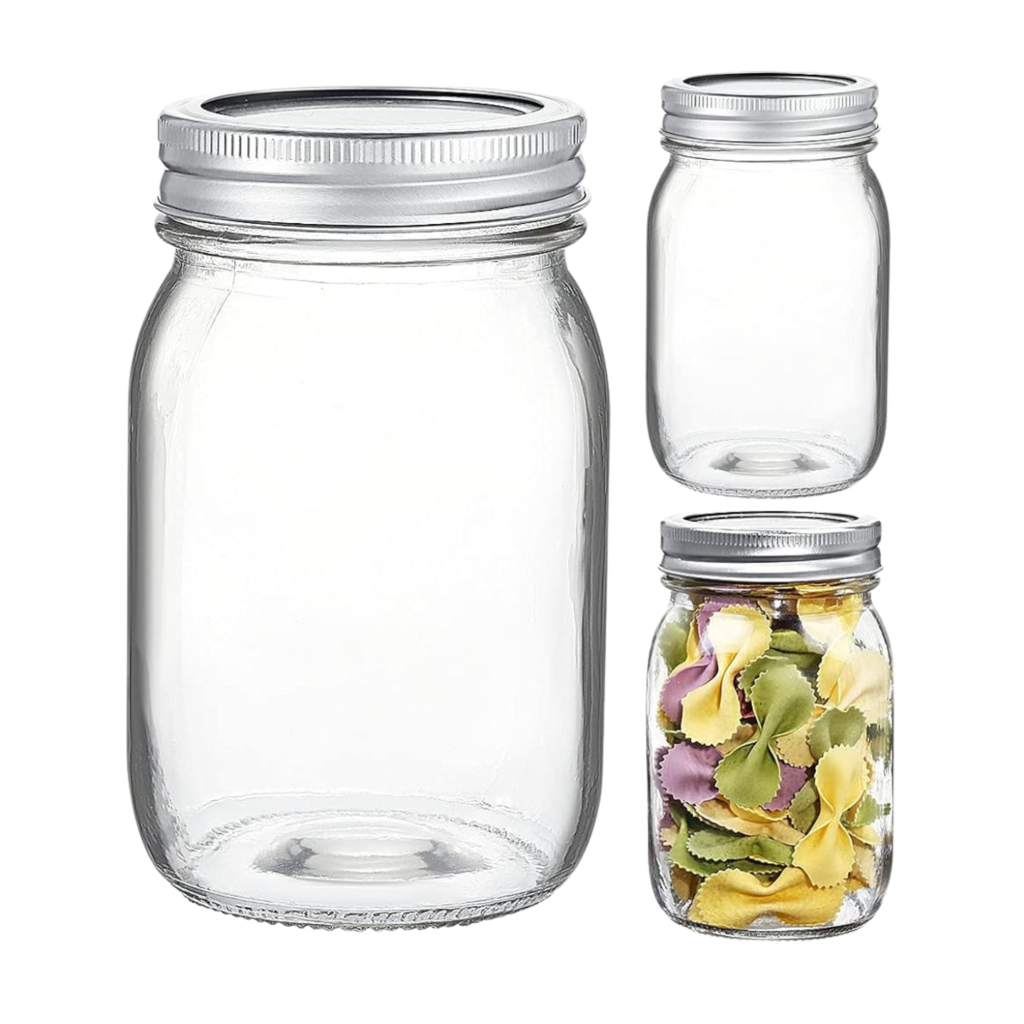
You don’t need any of these utensils besides a mason jar to store your starter. I bake sourdough bread so frequently that I’ve collected these items over the past few years, and I’m sharing them with you. If you decide to purchase from my links, THANK YOU! I appreciate your support of my small business.
THIS POST CONTAINS AFFILIATE LINKS, WHICH MEANS I MAKE A SMALL COMMISSION AT NO EXTRA COST TO YOU. FOR THE FULL PRIVACY POLICY, CLICK HERE.
Unbleached Parchment Paper Sheets
Pin it for later

[…] Read: Simple Sourdough Bread Recipe Easy Steps For Delicious […]