Updated August 2026
If you’re looking for a simple, delicious way to support your immune system during cold and flu season, homemade elderberry syrup is one of my favorite natural remedies to keep on hand.
Made with antioxidant-rich elderberries, fresh ginger, warming spices, and raw honey, this syrup has been used for generations to support seasonal wellness. It’s incredibly easy to make, tastes so much better than many store-bought versions, and you know exactly what’s going into it.
In this post, I’ll show you how to make homemade elderberry syrup, explain the benefits of each ingredient, share storage tips, and answer some common questions.
Why Elderberries?
Elderberries have been used in traditional herbal medicine for centuries. They’re naturally rich in antioxidants, vitamins, and plant compounds that help support overall health.
Some potential benefits include:
- Supporting a healthy immune system
- Providing antioxidants that help protect cells from oxidative stress
- Helping reduce the duration of some cold and flu symptoms when taken early (according to some research)
- Offering a delicious way to incorporate more plant-based nutrients into your daily routine
While elderberry syrup can be a wonderful addition to a healthy lifestyle, it isn’t a cure or guaranteed way to prevent illness.
Ingredients You’ll Need
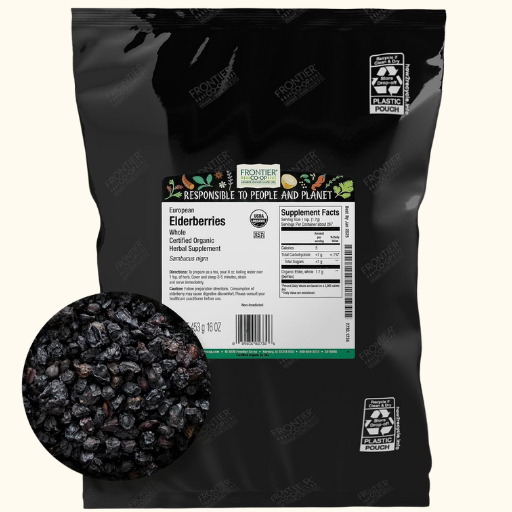
- 4 cups dried organic elderberries (or 8 cups fresh elderberries)
- 2–3 inches fresh organic ginger root, peeled and sliced
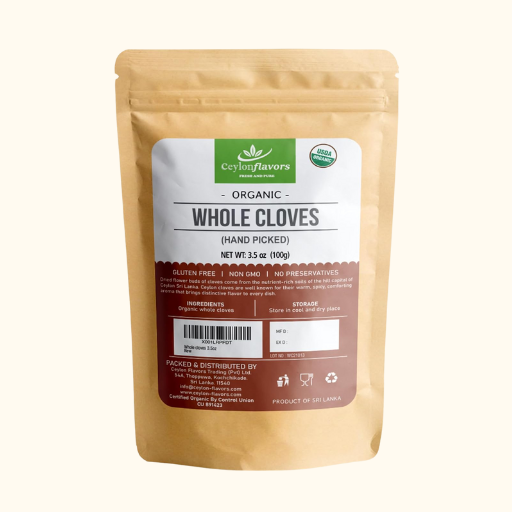
- 1 teaspoon whole cloves (or ground cloves)
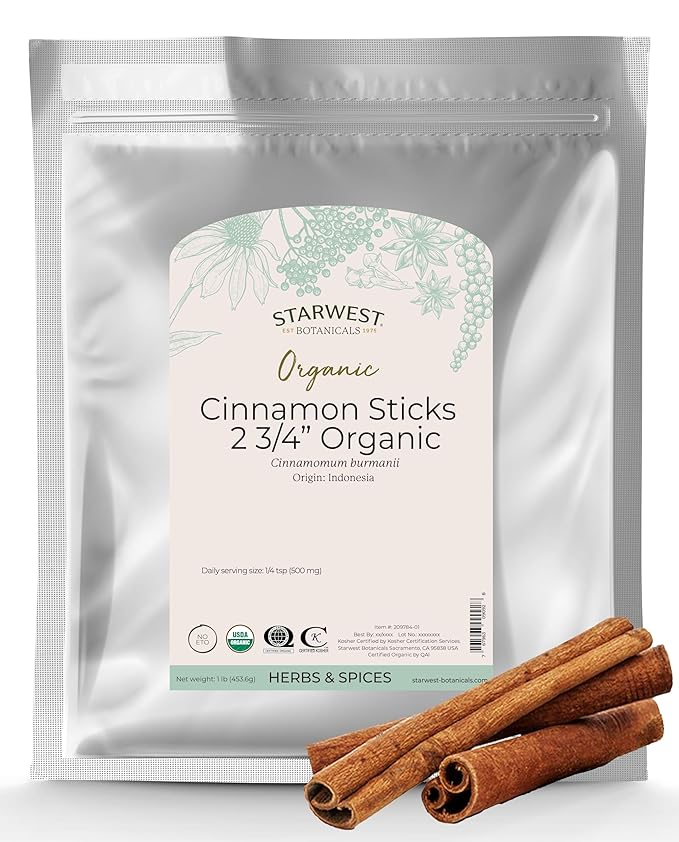
- 2 teaspoons ground cinnamon (or 2 cinnamon sticks)
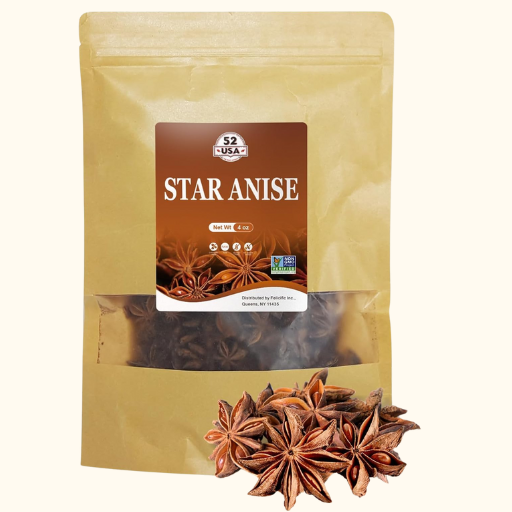
- 1 star anise (optional)
- 8 cups water
- 16–24 ounces raw honey (or substitute maple syrup or agave if preferred)
- ½ cup vodka (optional, as a preservative)
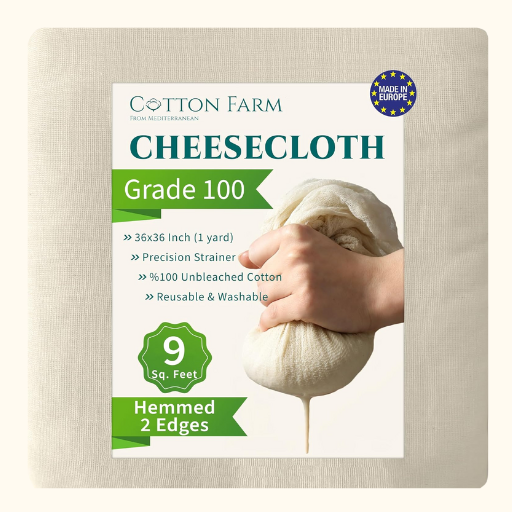
- Cheesecloth or a nut milk bag
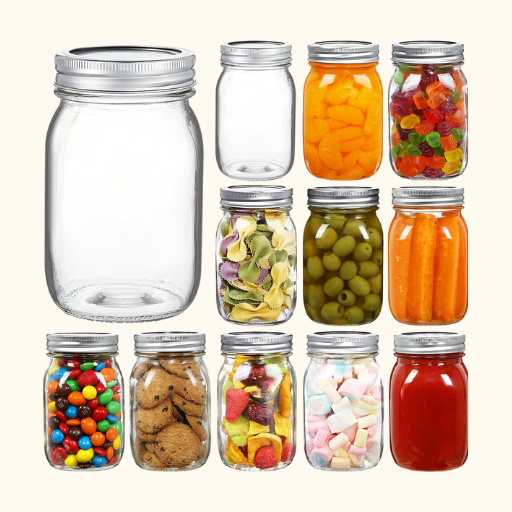
- Airtight glass jars or bottles for storage
How to Make Homemade Elderberry Syrup
Step 1: Combine the Ingredients
Place the elderberries, ginger, cloves, cinnamon, and star anise (if using) in a large pot with water.
Bring everything to a boil, then reduce the heat and let it simmer for about 45–60 minutes, or until the liquid has reduced by about half.
Step 2: Strain
Remove the pot from the heat and allow it to cool slightly.
Pour the mixture through cheesecloth or a nut milk bag into a large bowl, gently pressing the berries to extract as much liquid as possible.
Step 3: Stir in the Honey
Allow the liquid to cool until it’s warm—not hot.
Stir in the honey until completely dissolved. If using vodka as a preservative, add it now and stir well.
Step 4: Store
Transfer the finished syrup into clean glass jars or bottles.
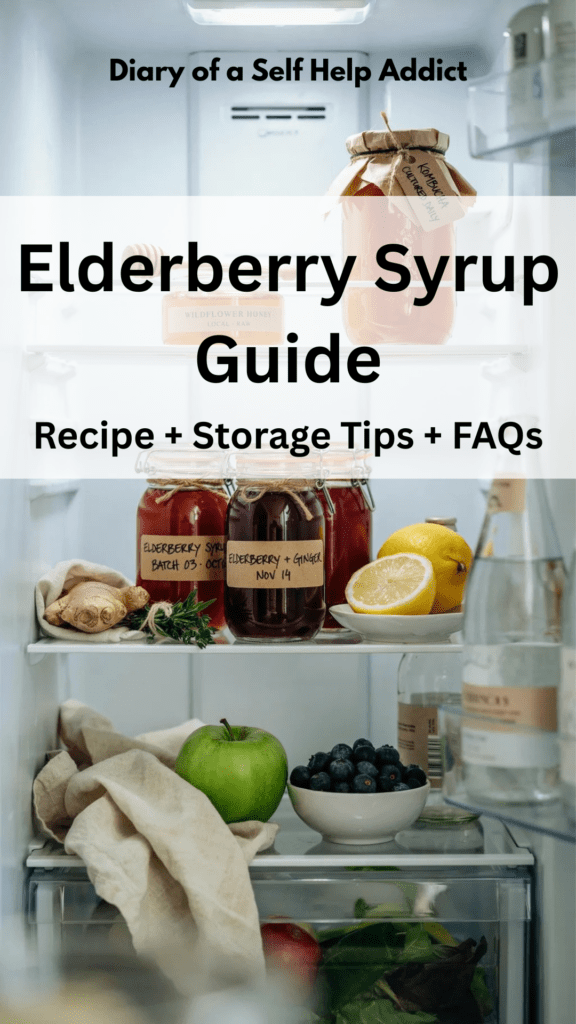
Store in the refrigerator for up to 2–3 months. If you’ve added vodka, it may last a bit longer.
Benefits of the Ingredients
Elderberries
Rich in antioxidants, vitamin C, and anthocyanins, elderberries are the star ingredient and have long been used to support seasonal wellness.
Ginger
Fresh ginger contains gingerol, a natural compound known for its antioxidant and anti-inflammatory properties.
Cloves
Cloves are loaded with antioxidants and add both flavor and natural antimicrobial properties.
Cinnamon
Cinnamon adds warmth while providing antioxidants and beneficial plant compounds.
Raw Honey
Honey naturally sweetens the syrup while offering its own antioxidant and soothing properties. (Remember: Never give honey to babies under one year of age.)
Star Anise (Optional)
Star anise adds a subtle licorice flavor and has traditionally been used to support respiratory health.
Tips for the Best Elderberry Syrup
- Use high-quality organic ingredients whenever possible.
- Store your syrup in airtight glass containers.
- Label each jar with the date you made it.
- Freeze extra syrup in small containers or ice cube trays for longer storage.
- Never eat raw elderberries, stems, or leaves; they should always be cooked before consumption.
Related Read: EASY HOMEMADE FIRE CIDER RECIPE (PERFECT TO MAKE BEFORE COLD & FLU SEASON)
How to Use Elderberry Syrup
My favorite way is simply taking a spoonful each morning during the fall and winter months.
You can also:
- Stir it into hot tea
- Add it to sparkling water
- Blend it into smoothies
- Mix it into yogurt or oatmeal
- Drizzle it over pancakes or waffles
Many adults choose to take 1 tablespoon daily as part of their seasonal wellness routine. If you’re feeling under the weather, talk with your healthcare provider about what’s appropriate for you. Children should receive smaller amounts, and it’s always best to check with their pediatrician first.
Frequently Asked Questions
How long does homemade elderberry syrup last?
Stored in the refrigerator, it generally keeps for about 2–3 months. If you notice mold, fermentation, or an off smell, discard it.
Can I freeze elderberry syrup?
Yes! Freeze it in small jars or silicone ice cube trays for convenient portions.
Can I use maple syrup instead of honey?
Absolutely. Maple syrup or agave work well if you prefer a vegan version.
Kelly’s Thoughts
Making homemade elderberry syrup is simple, affordable, and a wonderful way to stock your refrigerator with a delicious seasonal staple. I love knowing exactly what’s in every batch, and it’s become one of those recipes I look forward to making each year as the weather begins to cool.
Whether you enjoy it by the spoonful, stirred into tea, or drizzled over breakfast, this homemade elderberry syrup is an easy addition to your seasonal wellness routine.
As always, if you’re pregnant, breastfeeding, have an autoimmune condition, take immunosuppressant medications, or have any medical concerns, be sure to check with your healthcare provider before adding elderberry or any herbal supplement to your routine.
Have you made homemade elderberry syrup before? I’d love to hear your favorite variations or tips in the comments below!
Happy syrup making!
I hope you find this elderberry syrup recipe as beneficial as I do! If you have any questions or tips to share, feel free to leave a comment below. Stay healthy and enjoy the wonderful benefits of elderberries!
Shop This Post
AS AN AMAZON ASSOCIATE, I EARN FROM QUALIFYING PURCHASES. READ MY DISCLOSER HERE. THANK YOU FOR SUPPORTING MY SMALL BUSINESS!
Easy Homemade Elderberry Syrup Recipe
Equipment
- Cheese Cloth
- Mason Jars
Ingredients
- 4 cups Dried organic elderberries or 8 cups fresh elderberries
- Organic ginger root about 2-3 inches, peeled and sliced
- 1 teaspoon Cloves whole dried or ground powder
- 2 teaspoons Cinnamon ground or sticks
- 1 Star anise Optional
- 8 cups Water
- 16-24 ounces Honey honey is best for immunity, though you could substitute with agave or maple syrup
- 1/2 cup Vodka Optional: acts as a preservative
Instructions
- Prepare the Ingredients: Gather all your ingredients. If you’re using fresh ginger, peel and slice it. Measure out the elderberries, cloves, cinnamon, and honey.
- Combine and Simmer: In a large pot, combine the elderberries, ginger, cloves, cinnamon, and star anise (if using) with the water. Bring the mixture to a boil, then reduce the heat and let it simmer for about 45 minutes to an hour, or until the liquid has reduced by half.
- Strain the Mixture: Once the mixture has reduced, remove it from the heat and let it cool slightly. Using cheesecloth or a nut milk bag, strain the liquid into a large bowl, pressing on the berries to extract as much juice as possible.
- Add Honey: Allow the liquid to cool to lukewarm temperature (this helps preserve the beneficial properties of the honey). Stir in the honey until it is fully dissolved. If you’re using vodka, add it at this stage as well.
- Store the Syrup: Pour the elderberry syrup into air-tight glass storage containers and store them in the refrigerator. The syrup can last up to three months in the fridge or six months if you've added vodka.
- Dosage: For adults, a typical dosage is 1 tablespoon per day for immune support, or 1 tablespoon every 2-3 hours if you're experiencing cold or flu symptoms. For children, reduce the dosage to 1 teaspoon.
Pin It For Later
So grateful for this! I’ve been wondering how to make elderberry syrup for a long time. We use enough elderberry products that I may need to plant my own bushes. We will be making this all the time!
I’m with you! I need my own elderberry bushes!! Enjoy!
Perfect timing! Adding this to our list to make!🤩
Love it! Thank you!
I’ve been wanting to make this for a while – I think I need to do it now and have it on hand for when school starts! Thanks for sharing!
Great idea! Enjoy! Prayers for a blessed school year for your kiddos!
Wow I cannot wait to try this recipe!! I also appreciate that you add where to purchase the organic ingredients. Here’s to good health! Thanks!❤️🌻
Thank you! Enjoy and stay healthy!