
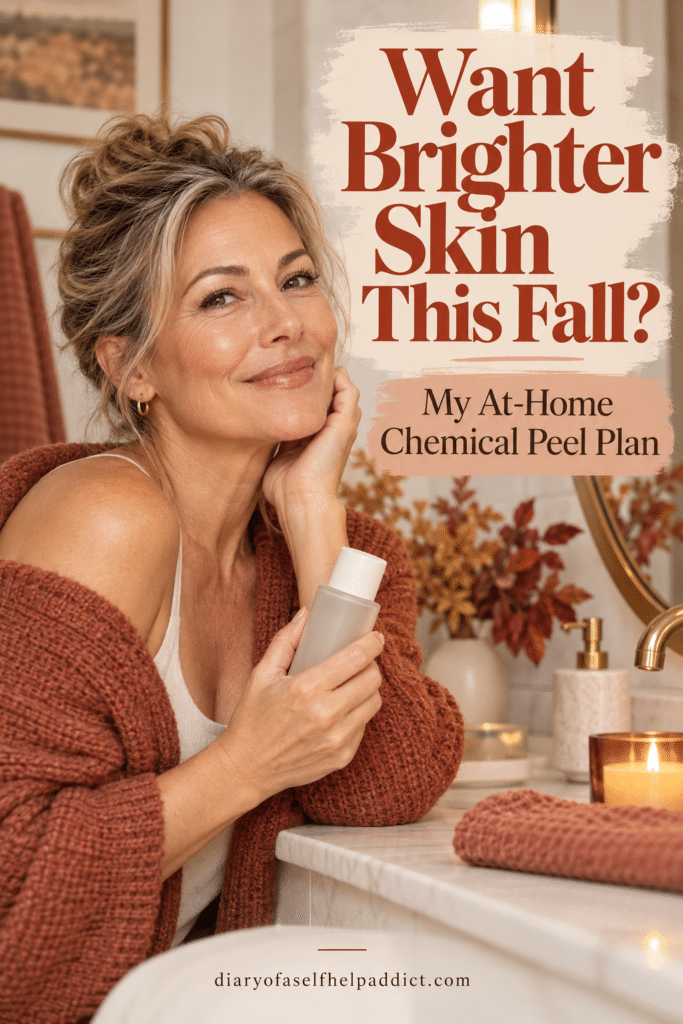
This time of year, I start thinking about refreshing my skin, and chemical peels are one of my favorite ways to do it. We’re not out in the strong sun quite as much, and I love the smoother, brighter look a good peel can give. This season, I’m trying something new: a series of mandelic acid peels, starting at 25% and gradually working up to 40% as I prep my skin for a deeper peel later. I’ll share what I’m using, how I’m approaching it, and what I’m learning along the way.
Why fall is my favorite time to peel
Chemical peels exfoliate the skin by loosening and removing surface skin cells. When the right peel is used thoughtfully, it can help skin look smoother and brighter and can improve the appearance of fine lines, clogged pores, acne, uneven tone, and some discoloration over time. I think of a peel as a fresh start for the surface of my skin… not a miracle treatment that fixes everything overnight.
Fall and winter are a convenient time for me to do peels because I spend less time in direct sun than I do in summer. And let’s be honest: I’m much more likely to be happy staying inside while my skin is doing its little flaky thing! But the sun doesn’t disappear when the weather cools down. I keep broad-spectrum sunscreen in my daily routine and pay attention to hats and shade, too.
What I’ve used before—and what I’m doing now
I’ve used BioRePeel in the past, and I LOVE the results I get from it. It’s known as a no-downtime peel, which is part of why I’ve enjoyed it. My skin has looked fresh and glowy without the kind of visible peeling that makes you want to hide at home. I shared more about my experience here: Read my BioRePeel post.
This year, I’m doing a mandelic acid series. I’m beginning with 25% and plan to work up to 40% over the season. I chose mandelic because it’s often considered a slower, gentler-feeling alpha hydroxy acid, and it can work for a range of skin types and tones. My goal is to gradually condition my skin before a deeper peel, such as TCA. I expect some light flaking rather than sheets of skin peeling off, and I’ll be following the instructions for the specific peel I’m using.
Before you read on, you’re welcome to check out Platinum Skincare (affiliate link) to see the skincare, peels, and kits they offer. I love their products and all of the educational videos and info on their website.
Disclaimer: If you shop through my links, I may earn a small commission at no extra cost to you.
A quick guide to chemical peel types
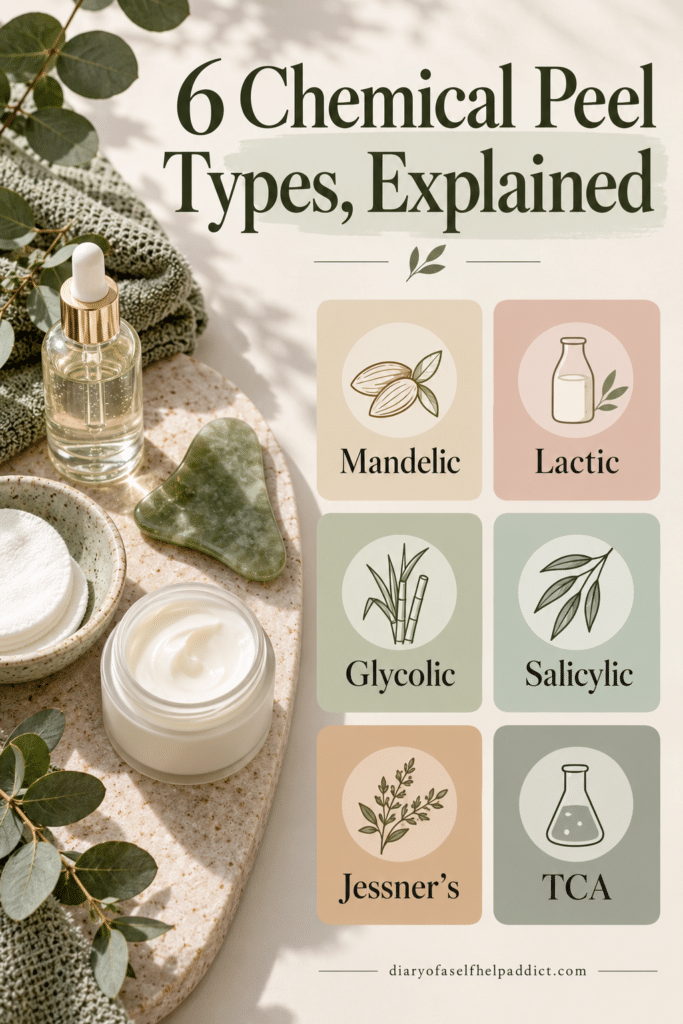
There are lots of peel names and percentages, and the numbers can look intimidating. The percentage is only one part of the story: the acid, pH, formula, application, number of layers, skin prep, and time on the skin all affect how a peel behaves. Think of the “spiciness” descriptions below as a general comparison, not a promise about how a particular product will feel on you.
Mandelic acid: my pick for this season
Mandelic acid is an AHA (alpha hydroxy acid) with a larger molecule than glycolic acid, so it tends to penetrate more slowly. People often choose it for a gradual approach to dullness, uneven tone, and acne-prone skin. Platinum’s Mandelic Chemical Peels page includes options and product-specific guidance. I like that mandelic is commonly used across a range of Fitzpatrick skin types, which is one reason I chose it for my fall chemical peel series this year. That said, “Suitable for a range” doesn’t mean every peel is right for everyone. I always read the instructions and product reviews, and I watch the informational videos they offer.
Spice level: often on the gentler side compared with some other peel families, but it can still tingle or feel hot, especially at higher strengths.
Lactic acid: a softer-feeling AHA
Lactic acid is another AHA and is often a choice for people looking for surface exfoliation and a smoother, brighter look. Interestingly, lactic formulas can feel more hydrating than some other peels such as glycolics. The Lactic Acid Chemical Peels page is a good place to read about the available options.
Spice level: mild to moderate, depending on the formula and strength.
Glycolic acid: the classic brightening peel
Glycolic acid is a water-soluble acid with a smaller molecule than mandelic acid, often used to improve dullness, texture, and uneven tone. It can be effective, but some people find it more intense or irritating. If you’re new to chemical peels (especially DIY), Glycolic may not be the best place to start. Definitely learn about lower strengths and read the product’s exact instructions. Here’s Platinum’s Glycolic Chemical Peels page.
Spice level: moderate to spicy, depending on concentration and formula.
Salicylic acid: often considered for oily or acne-prone skin
Salicylic acid is oil-soluble, so it’s commonly used for clogged pores and oily, acne-prone skin. It may help if congestion is your main concern. It isn’t right for everyone, including people with salicylate sensitivity (aspirin allergy), so check the label and ask a clinician if you’re unsure. Read more on the Salicylic Acid Chemical Peels page.
Spice level: can be moderate; some people feel a noticeable sting or dryness.
The hydroxy peels above, including alpha and beta, are timed peels. They are typically applied in a single layer and left on for 1-15 minutes before being neutralized or rinsed off.
Jessner’s: a blended peel
Jessner’s is a combination peel, traditionally made with salicylic acid, lactic acid, and resorcinol. Since it combines ingredients, it can feel like a bigger step than a single-acid beginner product. People often use it for concerns like texture, clogged pores, and uneven tone. This is a layered peel, meaning the solution is applied in multiple passes. Here’s the Jessner’s Chemical Peel page.
Spice level: moderate to spicy. The blend and number of layers matter.
TCA: the deeper peel I’m preparing for
TCA, another layered peel, stands for trichloroacetic acid. It can exfoliate deeper than the gentle home products many people start with, and it can cause more visible peeling and require more recovery time. That’s why I’m not jumping straight to it. I want to prepare my skin gradually and understand the specific protocol and aftercare before deciding what comes next. Platinum has a TCA Chemical Peels page with product information and instructions.
Spice level: spicy to very spicy, with more potential downtime. Strength and technique make a big difference.
When it comes to acids and at-home chemical peels, I always start with a simple, lower-strength product clearly labeled for home use and follow its instructions exactly. I wouldn’t choose based on the biggest percentage or the most dramatic before-and-after photos. Starting with the mandelic peel is the best approach for me. For chemical peels and exfoliating products in general, it’s best to increase gradually to see how the skin responds.
Fitzpatrick skin types, in everyday language
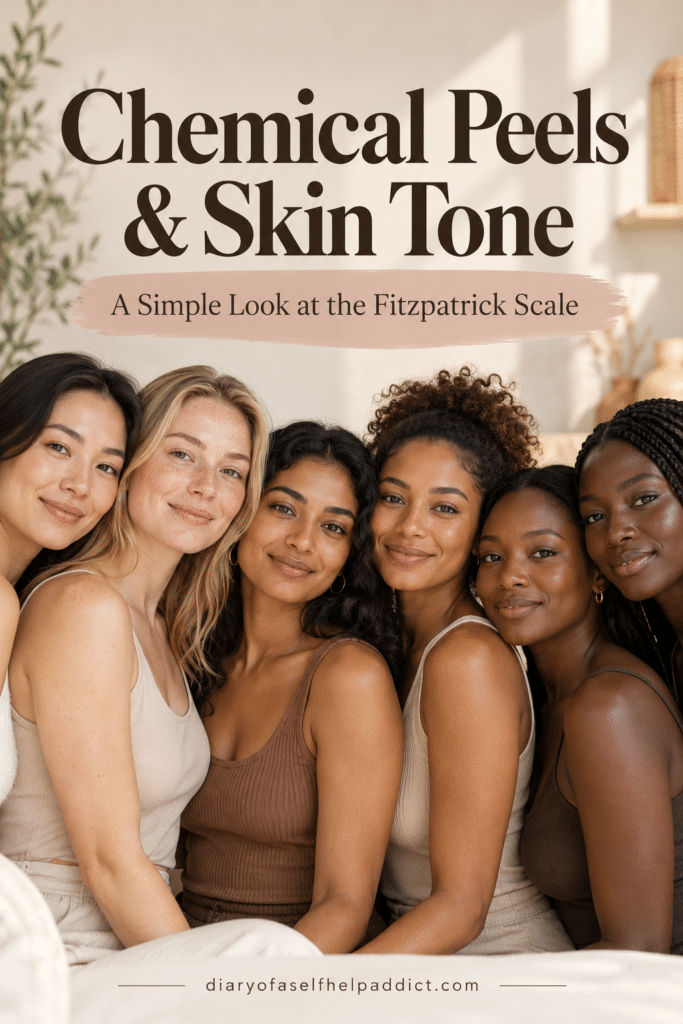
You may have heard of the Fitzpatrick scale. It’s a six-type scale based mainly on how skin tends to burn or tan in the sun. Type I usually burns and doesn’t tan; Type VI rarely burns and tans deeply. It’s a shorthand clinicians use, not a perfect description of someone’s skin tone or a DIY way to decide which peel is safe.
People across the Fitzpatrick scale can have good experiences with the right peel, but for some, irritation can lead to post-inflammatory hyperpigmentation (dark marks left behind after inflammation). That’s one reason I’m interested in mandelic: it’s often chosen as a gentler option and works across a range of skin tones. If you tend to get dark marks, have melasma, or have a deeper skin tone and are considering a stronger peel, it’s best to get advice from your dermatologist or aesthetic professional.
What I gather before I start
I like having everything laid out before I begin so I’m not reaching around with acid on my face. Depending on the peel and its directions, my setup includes:
- The peel and its instruction sheet or kit
- A gentle cleanser
- 90% alcohol, acetone, or prep solution
- Vaseline or Aquaphor to protect sensitive areas.
- Gloves, so I don’t get peel solution on my fingers.
- Rough gauze (or the applicator specified in the directions)
- The correct neutralizer or plenty of water, as specified
- A timer
- Gentle moisturizer and sunscreen for aftercare
I lay everything out before I begin, including whatever the instructions say I’ll need to remove or neutralize the peel. Then I work through the steps in order.
How I approach an at-home peel
This is the routine I use as a framework; I start with the exact product directions because different peels have different application and removal instructions.
How I prep my skin:
- I choose a calm skin day. I don’t peel if my skin is sunburned, windburned, irritated, freshly shaved, or already flaking. If I have a special event coming up, I give myself plenty of time because even a familiar product can surprise you.
- I keep my routine simple beforehand. I avoid other exfoliants and irritating products, and I avoid retinol and vitamin C for three days before my peel. If I use prescription skincare, I check with my prescriber or follow the specific peel guidance rather than guessing.
- I cleanse and prep as directed. Some peels call for a prep solution, while others don’t. A few instructions call for alcohol or acetone, which still feels a little strange to me on my face, so I double-check the directions for the exact product and ask the company if I’m unsure. If directed, I let my skin dry, then apply a thin layer of Vaseline around my eyes, nostrils, and lips to protect those delicate areas.
How I do the peel:
- I apply a thin, even layer. I wear gloves and use the applicator or gauze specified in the directions. If I use gauze, I saturate it as directed and gently wring it out so it isn’t dripping. I work from my forehead down in horizontal strokes, using mild-to-moderate pressure as directed for my peel. I don’t go back over the same area just to strengthen the peel.
- I follow the product’s directions for passes and timing. I do only the number of passes directed and set a timer for the product’s stated duration. For the peels I use, that is usually 5 to 15 minutes, but it varies by peel and strength, so I follow the directions for the exact product I’m using.
- I pay attention to how my skin feels. I may feel a little tingling or warmth. If I feel severe burning or sharp pain, I stop and remove or neutralize the peel as directed.
- I rinse or neutralize as directed. Some peels are self-neutralizing, some require a neutralizer, and others are removed with water. I follow the product instructions rather than guessing or mixing in a different brand’s solution.
- I keep aftercare simple. I use gentle cleansing, moisturizer, and sunscreen. My favorite moisture helpers while my skin heals are emu oil or Aquaphor. I wait until my skin feels comfortable and recovered before returning to retinoids, scrubs, or other acids, following the product guidance.
What about spot treating and frosting?
Some peel protocols allow a second pass (or more!) or targeted application (spot treatment), while others don’t. I only do what the directions for that specific product allow.
“Frosting” is a temporary white or opaque appearance that happens when the acid affects proteins in the skin during certain medium-to-deep chemical peels. In some peel protocols, it’s a positive visual sign that the peel is working and reaching deeper skin layers. That being said, I follow the instructions for the peel I’m doing and don’t add layers to try to make frosting happen. If there is unwanted or heavy frosting, stop the peel by applying the neutralizer purchased with the peel (or water if allowed).
The risks, without the scare tactics
Peels can sting, make skin temporarily red or tight, and cause dryness or flaking. Less commonly, a peel can cause a burn, prolonged irritation, infection, cold-sore flare, or changes in pigmentation. Deeper peels generally mean more downtime and more need for careful aftercare. That said, it doesn’t mean nobody should ever peel at home… it means I choose carefully, follow the instructions, and prep my skin rather than rushing to a stronger peel.
I’m especially thoughtful about peels if I have active irritation, a compromised skin barrier, a history of cold sores, or a tendency toward dark marks. Rosacea-prone skin can be reactive, too. Mandelic is often considered gentler, but rosacea is personal, so if it’s part of your skin story, ask your dermatologist before doing a peel. That’s also the best person to help if you’re treating persistent acne, melasma, or deeper pigment concerns.
Sun protection is important before and after a peel. I avoid tanning and plan treatments when I can keep my skin protected, and I don’t pick at flaking skin. If I had severe pain, blistering, increasing swelling, eye exposure, or skin that looked raw or infected, I’d get medical advice rather than trying to fix it with another product.
Kelly’s takeaway
I love the fresh, smooth look a good peel gives my skin, and I’m excited to see how this mandelic series goes. I’m starting at 25%, working gradually toward 40%, and treating each step as a chance to learn how my skin responds. The season feels right for it, and I’ll share updates as I go, including what I like, how much flaking I get, and what my skin looks like afterward.
If you’re curious about chemical peels, and specifically the products I’m using, check out Platinum Skincare.
A peel can be a great way to reset your skin during fall and winter, and once it has time to recover, you will love seeing that fresh, brighter, more luminous glow in the mirror. Remember, it’s not a competition to see who can use the strongest acid. Take your time and do your research to choose the peel that fits your skin type.
Have you tried an at-home peel before, or are you thinking about trying one this season? Tell me in the comments which kind you tried or are curious about—I love hearing your skincare stories!
If you shop through my links, I may earn a commission at no extra cost to you. Thanks for supporting my little blog and letting me share the skincare things I’m trying!
Medical disclaimer
This post shares my personal experience and general skincare information; it is not medical advice or a substitute for care from a dermatologist or other qualified healthcare professional. Chemical peels are not right for everyone, and results and reactions vary. If you have a skin condition, use prescription skin treatments, or are unsure which peel is appropriate for you, check with a qualified professional before starting. Follow the product directions and seek medical advice for a concerning reaction. Read my privacy policy and disclosure here.
Pin it for later

Leave a Reply