
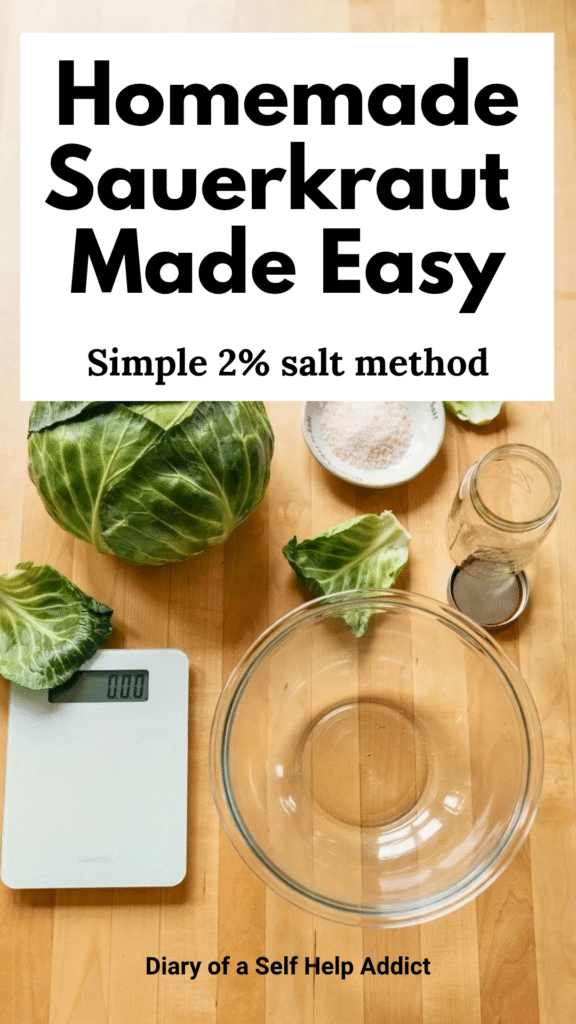
Every morning, before I enjoy my glorious cup of coffee, I eat a forkful of homemade sauerkraut.
It is one of those tiny habits that takes almost no effort once the sauerkraut is made, and making it is much easier than you might think. You need only fresh green cabbage and salt. No vinegar. No starter culture. And definitely no long list of unpronounceable ingredients.
I love learning to make foods like this at home because I know exactly what goes into them. Sauerkraut is inexpensive, crunchy, tangy, and filled with the live cultures created during fermentation. It is one of my favorite food-first ways to add fermented foods to my diet and support a healthy, diverse gut microbiome.
If leaving cabbage in a jar on your counter sounds questionable, I understand! But people have fermented cabbage for centuries. I use a scale for measuring the cabbage and salt. I usually do not bother with a scale for my other fermented vegetables, but with sauerkraut, the salt percentage matters. Luckily, the math is easy.
What Is Sauerkraut?
Sauerkraut is shredded cabbage fermented with salt. Most of us associate it with Germany because the word sauerkraut means “sour cabbage” in German, but people have made versions around the world for centuries.
Traditional sauerkraut does not get its tang from vinegar. Instead, naturally occurring bacteria use some of the cabbage’s sugars and produce lactic acid. That creates its tart flavor and helps preserve it. Salt pulls water from the cabbage to create the brine, helps it stay crisp, and favors the bacteria we want. It is a little science-y, but also wonderfully simple.
Why I Make My Own Sauerkraut
Yes, you can buy sauerkraut, but homemade is fresh, inexpensive, and lets you control every ingredient. Many shelf-stable versions have been pasteurized, so they no longer contain live cultures. If you want it as a fermented food, look for a refrigerated variety labeled raw or unpasteurized… or make your own, as I do!
I can begin tasting mine after a few days and refrigerate it when it reaches the tanginess I like. There is something extremely satisfying about turning an ordinary cabbage into beautiful sauerkraut with only salt, time, and a little massaging.
The Only Two Ingredients You Need
Green cabbage
Choose a fresh, firm green cabbage without mold, soft spots, or decay. Fresher cabbage typically releases more liquid.
Before chopping, remove a few large outer leaves and set them aside. A little wilting is okay, but they must be clean and free of mold, rot, or obvious damage. We will use them as a cap to help hold the shreds below the brine. Do not throw them away!
Redmond Real Salt
I use Redmond Real Salt because it is the salt I already use and love. Different salts have different crystal sizes, so spoon measurements can be inconsistent. A gram is a gram, no matter the crystal size.
For my sauerkraut, I use salt equal to 2% of the cabbage’s weight.
The Very Easy 2% Salt Formula
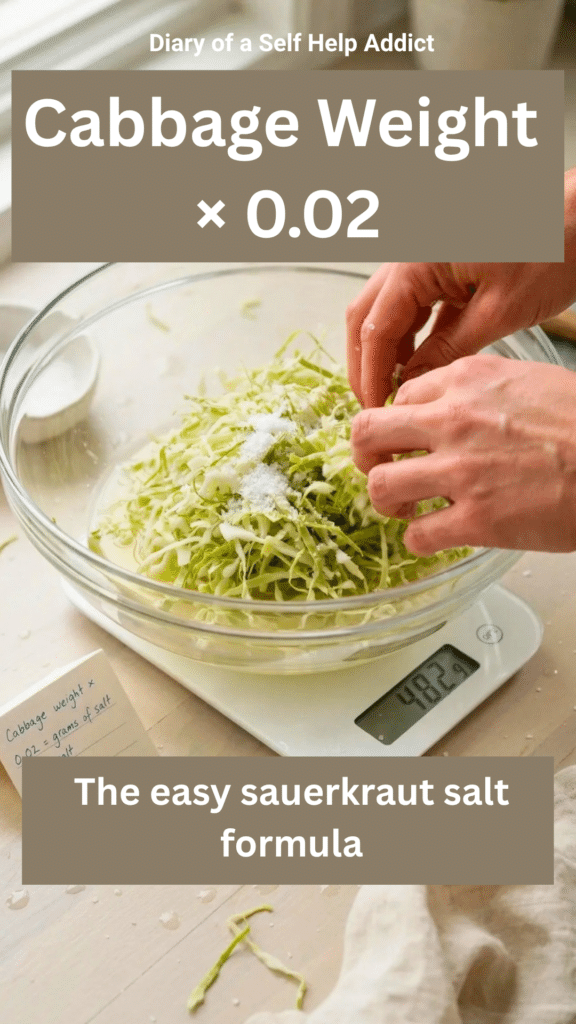
Once you know how many grams your shredded cabbage weighs, multiply that number by 0.02.
Weight of cabbage in grams × 0.02 = grams of salt needed
For example:
800 grams of cabbage × 0.02 = 16 grams of salt
So, 800 grams of cabbage needs 16 grams of salt.
Here are a few more examples:
| Cabbage Weight | Multiply By | Salt Needed |
| 500 grams | 0.02 | 10 grams |
| 800 grams | 0.02 | 16 grams |
| 1,000 grams | 0.02 | 20 grams |
| 1,500 grams | 0.02 | 30 grams |
See? Easy peasy.
Equipment You Will Need
- A digital kitchen scale that measures grams
- A large bowl (glass or ceramic, not metal!)
- A cutting board and sharp knife, mandoline, or food processor
- Clean glass Mason jar or jars
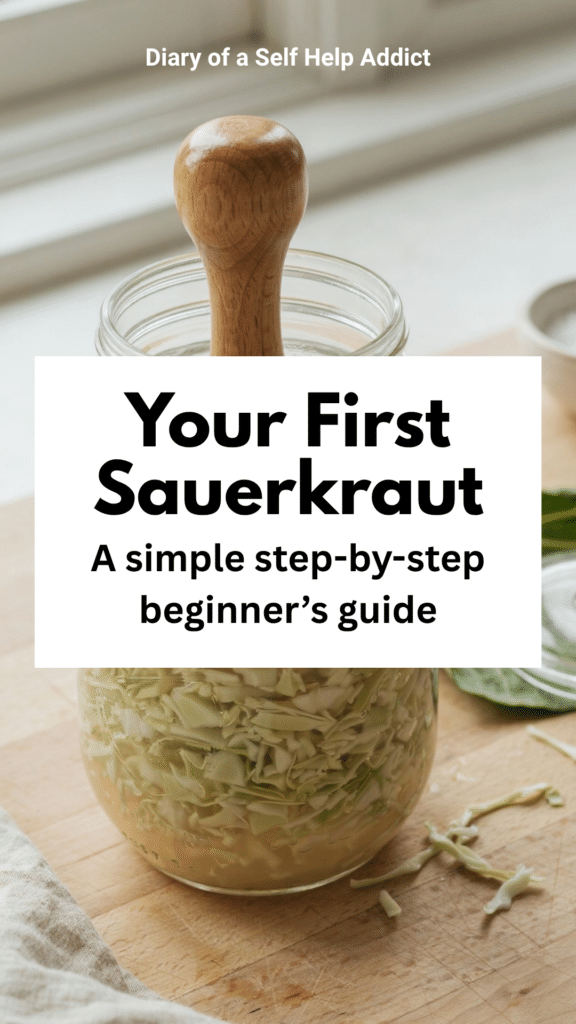
- A clean wooden spoon or fermentation tamper for packing the cabbage
- A burping or fermentation lid, if you have one
- A plate or shallow dish to place under the jar in case it bubbles over
A fermentation weight helps but isn’t always necessary if you can tuck the cabbage leaf securely over the shreds. The leaf is a barrier or “cap”; however, if the cabbage will not stay submerged, place a clean glass fermentation weight on top.
Wash your hands, jars, lids, tools, bowl, and work surface well before beginning.
My Easy Homemade Sauerkraut Recipe
Ingredients
- 1 fresh head of green cabbage, or as much cabbage as you want to ferment
- Redmond Real Salt equal to 2% of the prepared cabbage’s weight
That is it!
How to Make Sauerkraut Step by Step
Step 1: Save a few outer cabbage leaves
Pull off two or three large, intact outer leaves and set them aside. Rinse if necessary, and discard any that are slimy, moldy, rotten, or badly damaged. We will trim them to fit inside the jars and help prevent shreds from floating.
Step 2: Zero out the scale with your bowl on it
Place your empty bowl on the scale and press tare or zero. The display should return to zero so it weighs only the cabbage, not the bowl.
Step 3: Chop and weigh the cabbage
Quarter the cabbage, remove the hard core, and shred or finely slice it with a knife, mandoline, or food processor. Place it in the bowl and write down the weight in grams.
For example, let us say your shredded cabbage weighs 800 grams.
Step 4: Calculate 2% of the cabbage’s weight
Multiply the cabbage’s weight by 0.02:
800 × 0.02 = 16
You need 16 grams of salt.
Use your phone calculator. No one awards points for doing fermentation math in your head!
Step 5: Weigh and add the salt
With the cabbage bowl still on the scale, press tare again. Slowly sprinkle Redmond Real Salt evenly over the cabbage until the display reaches your calculated amount… 16 grams for our example.
Step 6: Massage for five minutes
Now comes the fun part.
Using clean hands, massage and squeeze the salted cabbage for about five minutes. It may feel dry at first, but keep going. It will soften and shrink as liquid collects in the bowl. That is your brine, and you want every drop.
Step 7: Pack the cabbage into clean Mason jars
Transfer the cabbage to a clean Mason jar a handful at a time, firmly packing each layer with your fist, a clean spoon, or tamper. This removes trapped air and pushes the brine upward. Leave about 1 to 2 inches at the top for bubbling and expansion.
Do not forget the liquid left in the bowl! Pour all of that beautiful cabbage brine into the jar, too.
Step 8: Cover the cabbage with a reserved leaf
Trim a reserved leaf to fit inside the jar. Place it over the shreds like a little lid and press until the brine rises above it. Tuck its edges beneath the jar’s shoulders or add a clean glass weight if it floats.
Keep all of the shredded cabbage below the brine. Cabbage exposed to air is more likely to develop yeast or mold.
Step 9: Add the lid
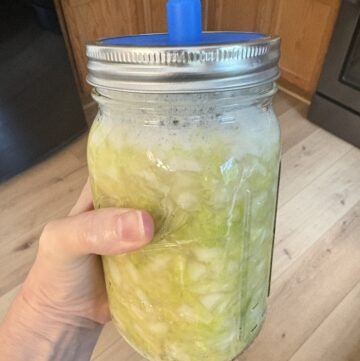
I use a burping or fermentation lid so carbon dioxide can escape without allowing much oxygen inside.
If you don’t have a fermentation lid, use a regular Mason jar lid, but “burp” it about once a day. To do this, you loosen the lid just enough to release pressure, then close it again. Be careful: an active jar may fizz or push brine upward. If you don’t burp the jar, pressure will build up over time and may break or explode the jar.
Set the jar on a plate or shallow bowl to catch any overflow. Ferments sometimes have a mind of their own!
Step 10: Let it ferment
Place the jar in a cupboard or on the counter away from direct sunlight… somewhere you will remember it, but never near a sunny window.
A room temperature of about 65°F to 75°F works well. Warmth speeds fermentation; cooler temperatures slow it. Above 75°F may produce softer kraut, while below 60°F may prevent proper fermentation.
You will notice more liquid (brine) in the jar even after only 12-24 hours, and you may begin to see bubbles after a day or two. The brine might turn cloudy, the cabbage may lighten in color, and you may hear a little fizz when you open or burp the jar. Those are normal signs that fermentation is happening.
Step 11: Start tasting after a few days
I start tasting my sauerkraut after a few days. Always use a clean fork, and make sure you press the cabbage back under the brine afterward.
Young sauerkraut will taste fresher, crunchier, and less sour. As it continues to ferment, the flavor becomes tangier and more complex. Small jars may develop flavor fairly quickly, but a complete traditional sauerkraut fermentation can take several weeks, depending on the temperature.
There is no magical day when everyone’s tastes perfect. Once yours is as tangy as you like, refrigerate it. Cold dramatically slows fermentation, although the flavor may continue developing. Then enjoy!

What Is Normal and What Is Not?
Fermentation can look a little strange, especially at first. These are generally normal:
- Bubbles or fizzing
- Cloudy brine
- White sediment at the bottom of the jar
- A pleasantly sour, cabbage-like smell
- Brine rising or leaking from the jar
- The cabbage becoming lighter in color
However, do not taste the sauerkraut if it has obvious fuzzy mold, a rotten or putrid smell, a slimy texture, or extensive unusual discoloration. When in doubt, throw it out. No jar of cabbage is worth getting sick over.
Prevent most problems with fresh cabbage, enough salt, clean equipment, a moderate temperature, and full submersion.
What If My Cabbage Does Not Make Enough Brine?
Keep massaging, pack it tightly, and give it time. Drier cabbages may need several hours to release enough liquid.
If you still need more, do not add plain water; it dilutes the salt. Prepare additional brine using a reliable fermentation recipe and add only enough to keep the cabbage submerged.
How I Eat My Homemade Sauerkraut
Most mornings, I eat a forkful straight from the jar before my coffee. But there are plenty of other ways to enjoy it:
- On avocado toast
- Added to a salad or Buddha bowl
- Alongside roasted potatoes
- On veggie burgers or plant-based sausages
- With beans or lentils
- In sandwiches and wraps
- As a tangy topping for grain bowls
To preserve the live cultures, don’t heat the sauerkraut. Instead, add it to your recipes after cooking. Always use a clean fork so you don’t introduce food or bacteria from another dish into the jar.
Why Fermented Foods Matter to Me
Our gut microbiome—the community of microorganisms living in our digestive tract—affects digestion, immune function, mental health, and many other aspects of health. No single food is a magic cure, and researchers are still learning exactly how different fermented foods affect different people. But including a variety of plant foods and fermented foods can be one useful part of supporting overall gut health.
For me, homemade sauerkraut is a simple and affordable way to enjoy a naturally fermented food with live cultures. I do not need a pricey powder or a supplement with a fancy label. I need cabbage, salt, a jar, and a little patience.
That is my kind of wellness habit.
A Note From My Kitchen
Homemade sauerkraut sounds like one of those impressive things that must require special knowledge and equipment. It really does not.
Weigh the cabbage. Multiply that number by 0.02. Weigh the salt. Massage for five minutes. Pack everything into a jar—brine and all—keep it under the liquid, and let time do the rest.
Once you make your first batch, I think you will be amazed that something so good can come from two humble ingredients. And you may find yourself, like me, standing in the kitchen every morning with a forkful of sauerkraut before that glorious cup of coffee.
Have you ever made homemade sauerkraut? If you try it, leave a comment and tell me how many days you fermented yours and how tangy you like it!
Pin it for later
Important Food-Safety and Health Note
This post shares my personal method and is for general educational purposes. It is not a substitute for current guidance from a qualified food-safety or home-preservation authority. Safe fermentation depends on accurate salt measurements, clean equipment, appropriate temperatures, and keeping the cabbage fully submerged. Do not eat a ferment that shows signs of spoilage. People who are pregnant, immunocompromised, elderly, or otherwise at greater risk of foodborne illness should ask their healthcare professional whether unpasteurized fermented foods are appropriate for them.
Sources and Further Reading
- National Center for Home Food Preservation: Sauerkraut
- Oregon State University Extension: Small-Batch Sauerkraut Tips
- University of Vermont Extension: Sauerkraut—DIY Fabulous Fermented Food
- Colorado State University Extension: Understanding and Making Sauerkraut
Easy Homemade Sauerkraut

Equipment
- A digital kitchen scale that measures grams
- A large bowl
- A cutting board and sharp knife, mandoline, or food processor
- Clean glass Mason jar or jars
- A clean utensil or fermentation tamper for packing the cabbage
- A burping or fermentation lid, if you have one
- A plate or shallow dish to place under the jar in case it bubbles over
Ingredients
Green Cabbage
Redmond's Real Salt
Instructions
Step 1: Save a few outer cabbage leaves
- Pull off two or three large, intact outer leaves and set them aside. Rinse if necessary, and discard any that are slimy, moldy, rotten, or badly damaged. We will trim them to fit inside the jars and help prevent shreds from floating.
Step 2: Zero out the scale with your bowl on it
- Place your empty bowl on the scale and press tare or zero. The display should return to zero so it weighs only the cabbage—not the bowl.
Step 3: Chop and weigh the cabbage
- Quarter the cabbage, remove the hard core, and shred or finely slice it with a knife, mandoline, or food processor. Place it in the bowl and write down the weight in grams.
- For example, let us say your shredded cabbage weighs 800 grams.
Step 4: Calculate 2% of the cabbage’s weight
- Multiply the cabbage’s weight by 0.02:
- 800 × 0.02 = 16
- You need 16 grams of salt.
Step 5: Weigh and add the salt
- With the cabbage bowl still on the scale, press tare again. Slowly sprinkle Redmond Real Salt evenly over the cabbage until the display reaches your calculated amount—16 grams for our example.
Step 6: Massage for five minutes
- Using clean hands, massage and squeeze the salted cabbage for about five minutes. It may feel dry at first, but keep going. It will soften and shrink as liquid collects in the bowl. That is your brine—and you want every drop.
Step 7: Pack the cabbage into clean Mason jars
- Transfer the cabbage to a clean Mason jar a handful at a time, firmly packing each layer with your fist, a clean spoon, or tamper. This removes trapped air and pushes the brine upward. Leave about 1 to 2 inches at the top for bubbling and expansion.
- Do not forget the liquid left in the bowl! Pour all of that beautiful cabbage brine into the jar, too.
Step 8: Cover the cabbage with a reserved leaf
- Trim a reserved leaf to fit inside the jar. Place it over the shreds like a little lid and press until the brine rises above it. Tuck its edges beneath the jar’s shoulders or add a clean glass weight if it floats.
- All of the cabbage—including the leaf—needs to remain below the brine. Cabbage exposed to air is more likely to develop yeast or mold.
Step 9: Add the lid
- I use a burping or fermentation lid so carbon dioxide can escape without allowing much oxygen inside.
- With a regular Mason jar lid, “burp” it about once a day: loosen it just enough to release pressure, then close it again. Be careful—an active jar may fizz or push brine upward.
- Set the jar on a plate or shallow bowl to catch any overflow. Ferments sometimes have a mind of their own!
Step 10: Let it ferment
- Place the jar in a cupboard or on the counter away from direct sunlight—somewhere you will remember it, but never in a hot window.
- A room temperature of about 65°F to 75°F works well. Warmth speeds fermentation; cooler temperatures slow it. Above 75°F may produce softer kraut, while below 60°F may prevent proper fermentation.
- You may begin to see bubbles after a day or two. The brine might turn cloudy, the cabbage may lighten in color, and you may hear a little fizz when you open or burp the jar. Those are normal signs that fermentation is happening.
Step 11: Start tasting after a few days
- I start tasting my sauerkraut after a few days. Always use a clean fork, and make sure you press the cabbage back under the brine afterward.
- Young sauerkraut will taste fresher, crunchier, and less sour. As it continues to ferment, the flavor becomes tangier and more complex. Small jars may develop flavor fairly quickly, but a complete traditional sauerkraut fermentation can take several weeks, depending on the temperature.
- There is no magical day when everyone’s tastes perfect. Once yours is as tangy as you like, refrigerate it. Cold dramatically slows fermentation, although the flavor may continue developing. Then enjoy!
The form you have selected does not exist.
[…] Try my method: HOW TO MAKE HOMEMADE SAUERKRAUT: THE EASY BEGINNER’S GUIDE […]